Soon after the SARS-CoV-2 coronavirus emerged out of China, Australia went into a nationwide lockdown from 23 March 2020. Due to multiple waves of COVID-19, Victoria became the state with the longest and tightest lockdowns in Australia, sometimes with nightly curfews.
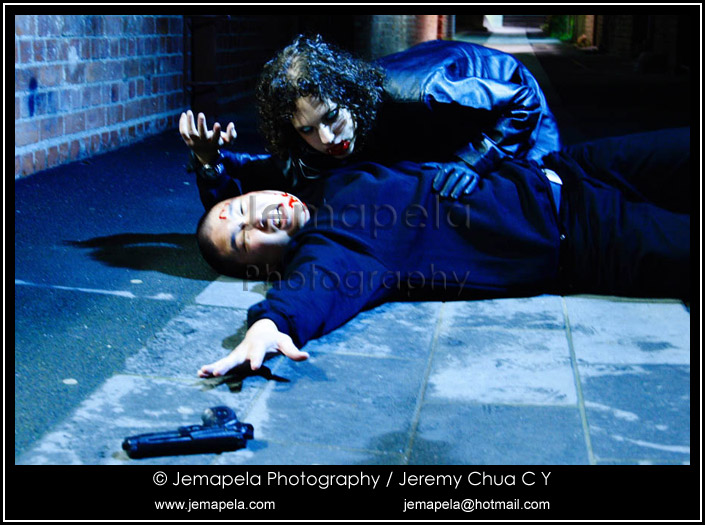
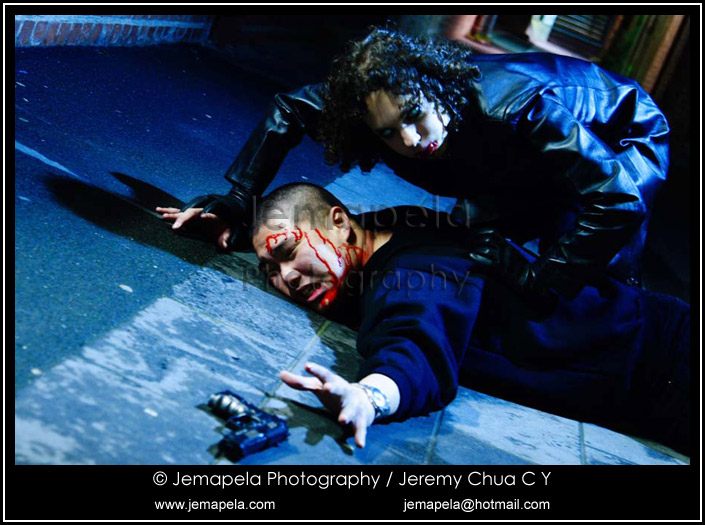
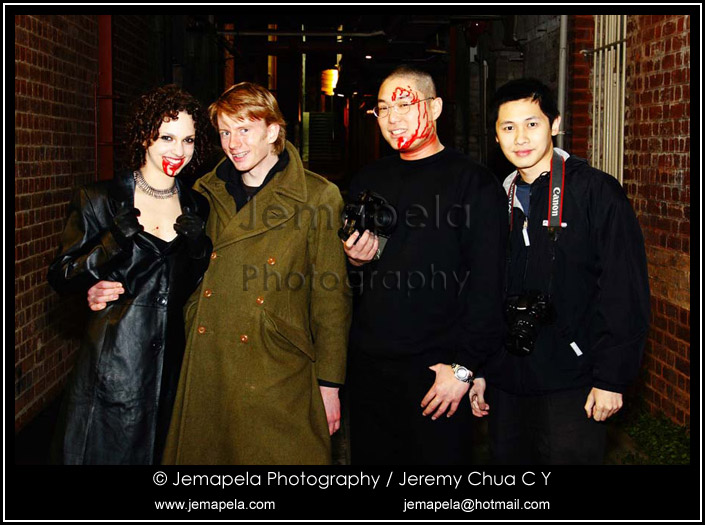
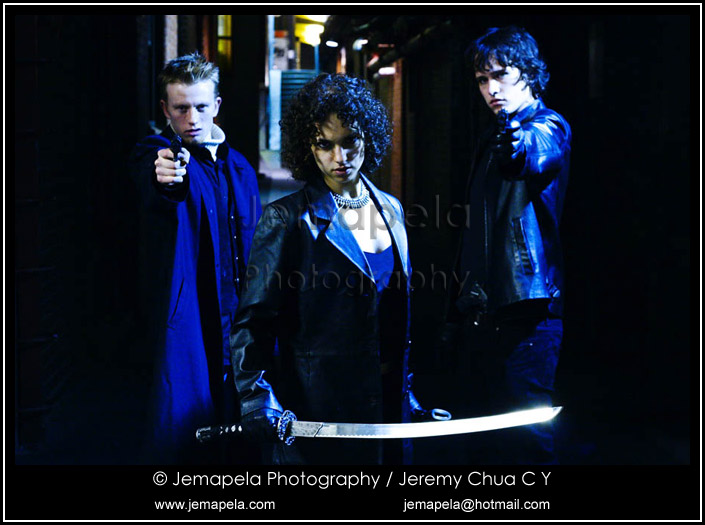
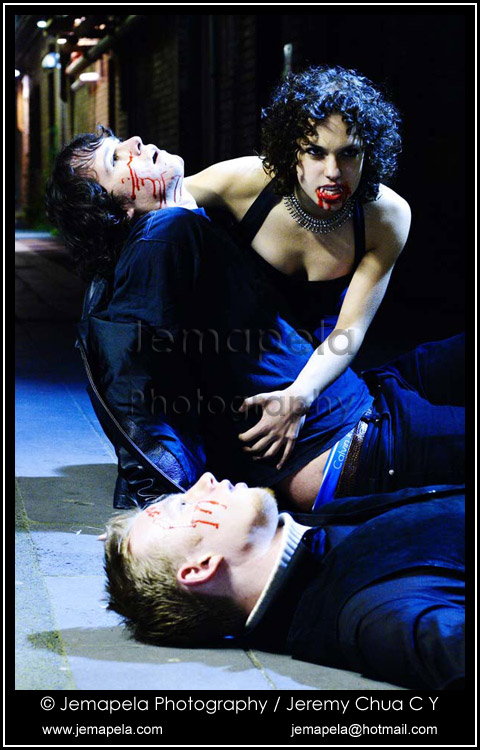
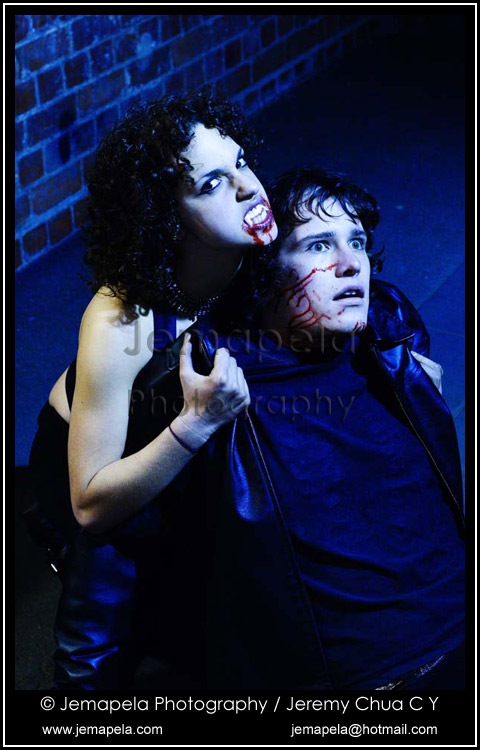
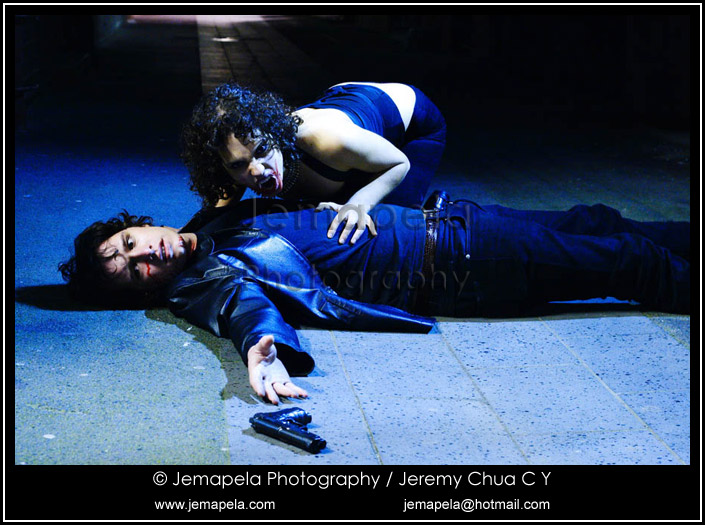
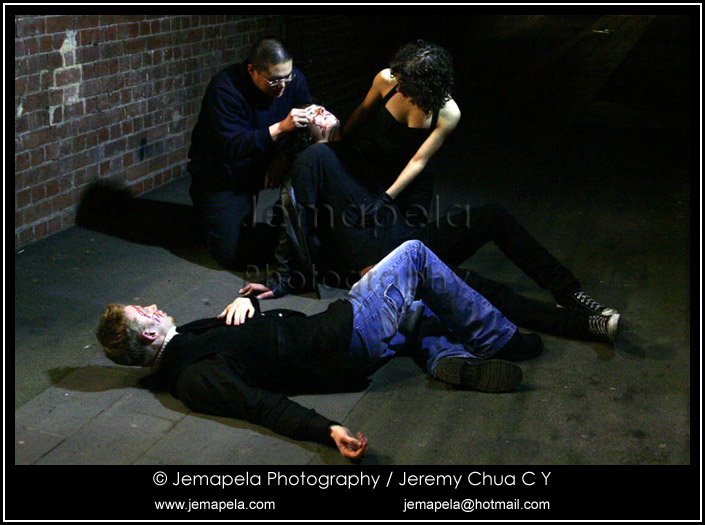
Like hundreds of thousands of other people, I was stood down from my job. Staying at home without work, I could not go out to do landscape or portrait photography. I browsed the internet for toy photography and discovered some 1/6-scale highly-articulated anatomically-correct figurines. Not designed, and not marketed, as children’s toys, these figurines are not found in toy stores simply because they are not children’s toys. These quite expensive, highly-posable, figurines are models made for artists, cartoonists, photographers, and fans of movie and game characters for display.
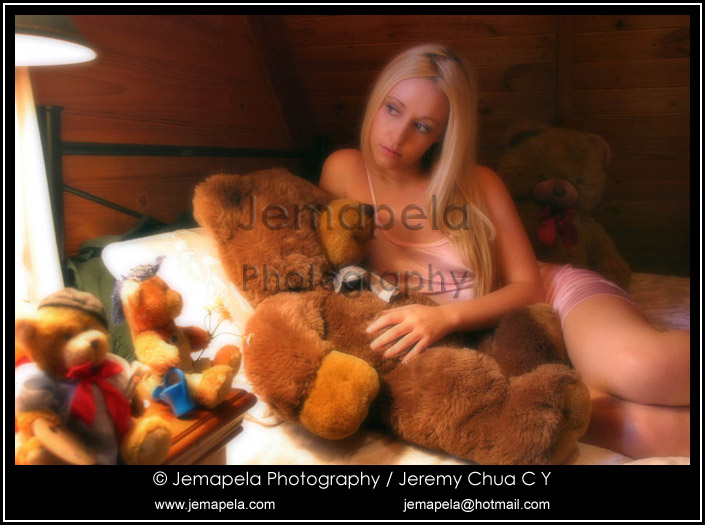
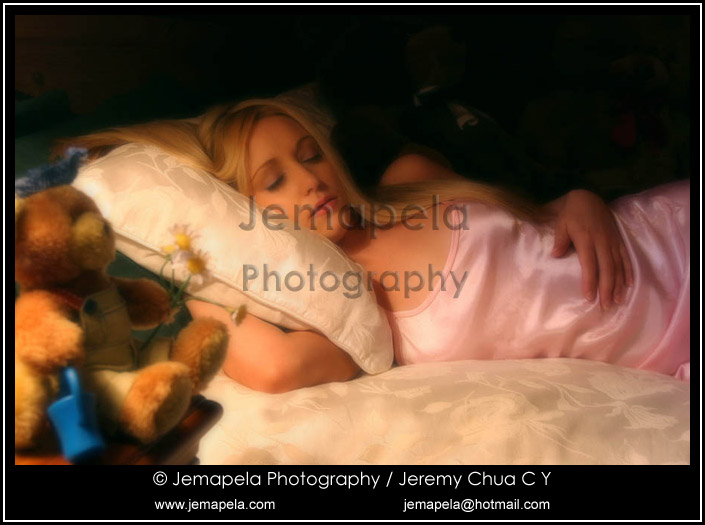
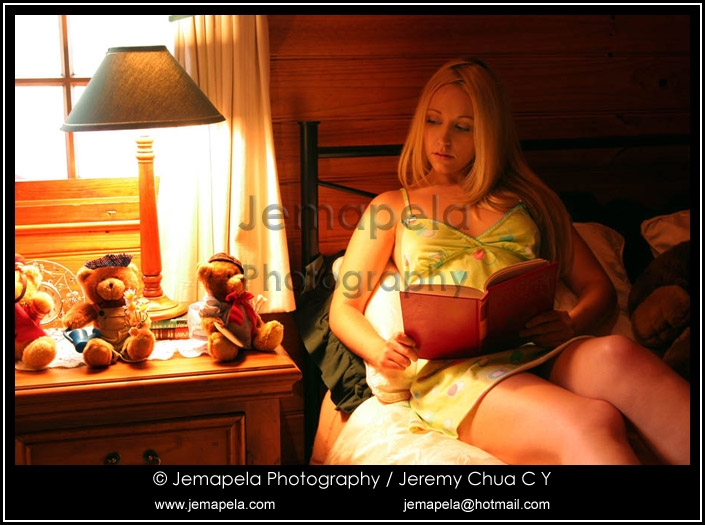
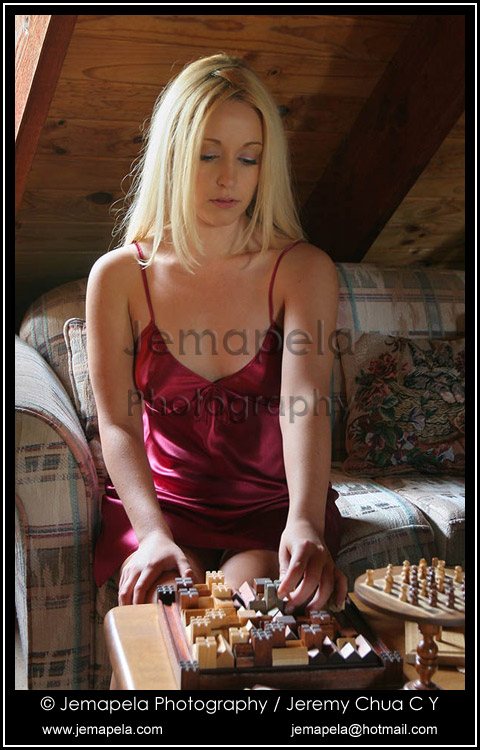
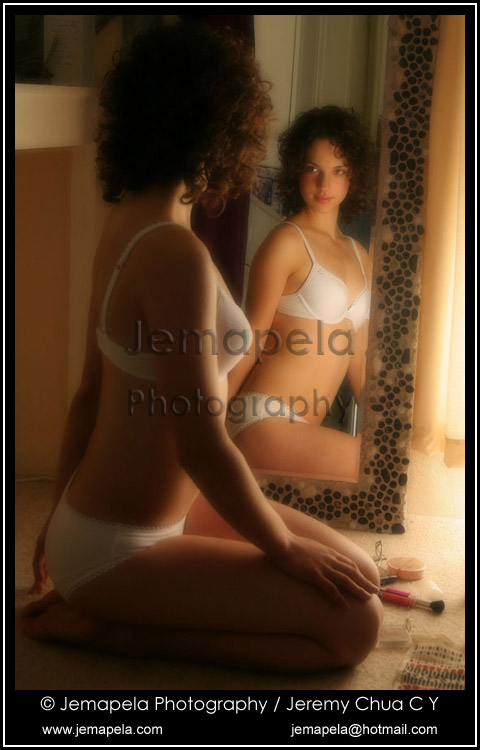
In mid 2020, I got my first 1/6-scale female figurine in the mail to do photography at home during the months of lockdown. I bought the figurine intending to try using it for nude figure art photography but did not end up doing it for several reasons including not having a macro lens. There are many companies that make a wide variety of heads, clothes, accessories and props to create a character that stands around 30cm tall. My direction turned towards creating scenes and story-telling hence more figurines and props soon came in the mail.
Doing this photography at home has since reduced my time going out and spending on entertainment and recreation outside, and adding non-essential travel mileage on my car. I also handmade at home some miniature wooden furniture including tables, benches and a bed, during Melbourne’s prolonged and repeated lockdowns. Doing photography of these figurines have helped me maintain my mental health during the many months of lockdown. While it might sound ironic, my new recreation with these figurines has saved me money that could have been blown off elsewhere if there had been no COVID lockdowns.
By late 2021, Victoria and specifically Melbourne city, had endured 6 lockdowns. Melbourne emerged from her 6th lockdown on 22 October 2021, making a world record for the longest cumulative days in lockdown.
Be advised that some images contain adult or alternative themes, or nudity. These images are not suitable for young persons and may be offensive to conservative or religious persons.


Compliments, criticisms, or a discussion of techniques or ideas, through e-mail is welcomed.
In May 2018, during late autumn, I drove to Olinda and Sherbrooke on Mount Dandenong (about 45km from Melbourne). I came here a few times to photograph the orange and red leaves of the season.
In June and July 2018, during winter, I drove eastwards out of Melbourne to East Warburton (about 80km from Melbourne), Mount Donna Buang (about 90km from Melbourne), Black Spur in Fernshaw and Steavenson Falls in Marysville (about 100km from Melbourne). Using a camera and lens with gloves on was far from easy and the cold made it a bit painful.
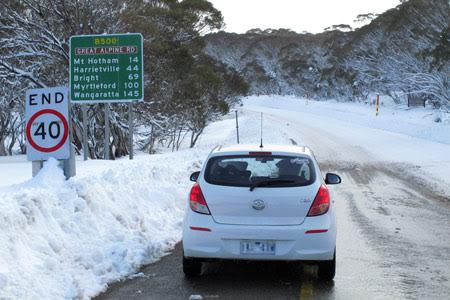
In August 2018, still during winter, I drove as far as to Mount Hotham (about 390km from Melbourne). This road trip was planned to coincide with the annual 2-day sled dog race at the alpine village of Dinner Plain, but despite leaving home at 4am, I arrived too late on the second day to catch any of the final race action. Apart from painful freezing fingers, my toes were also painfully freezing in wet boots soon after walking in snow. The last time I was here on Mount Hotham was in December 2012 during summer.
These road trips were an opportunity for me to unwind, appreciate the great outdoors which I really should do more, and play with my newer, second-hand but still discontinued Canon EOS 7D, and also the second-hand Canon EF-S 10-22mm lens which I bought for an insanely low price.


The above gallery presents the HDR images photographed during these road trips.
10 November 2018
This domain name and website has reached 9 years online but remained idle for the past 5 years since mid 2013. Last month, I began making some changes and new updates to its content.
In late August 2014, I resigned from my full-time technician job of 8 years repairing Canon DSLR cameras and lenses. Unknown to many photographers in the state and country who used Canon products, I was one of a very few persons who put their cameras and lenses back in correct and accurate working order. Having been a working photographer before becoming a technician, I entered the job with enthusiasm and passion, but it was gradually eroded over time. Leaving the job marked my departure from repairing digital cameras and lenses on a daily basis. I continued working casually in that job for a few more months as I transitioned into a different industry and left completely by mid 2015.
The technical knowledge and hand skills from my technician job are now infrequently used. Some of the knowledge is very specialized, especially in the areas of spectral modification (infrared conversion) and Canon CHDK. I occasionally service, repair, or modify, Canon cameras and lenses for my own use, or to be sold away.
I have since moved to work in a different industry – tourism. On this date 4 years ago, I started in my current job. Although part-time, I work nearly, but sometimes exceeding, full-time hours as a shift worker. Shift work offers me a degree of flexibility in my life not possible with regular Monday-to-Friday jobs.
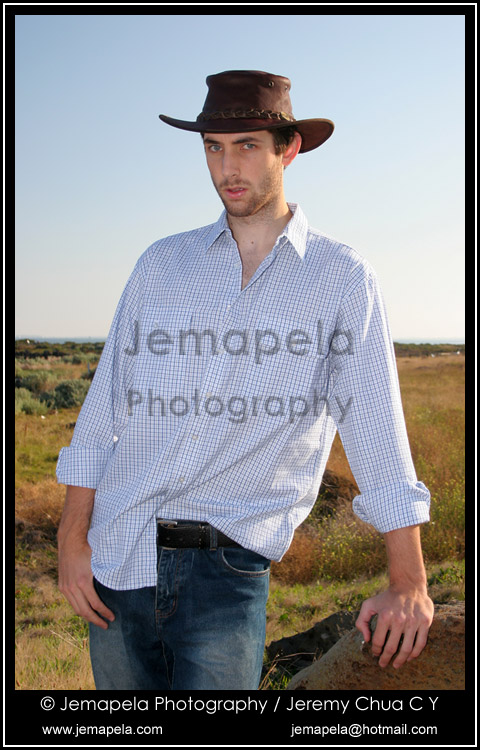
I still use my cameras, photographing mostly portraits, sometimes landscapes when I drive out to the countryside, and sometimes interesting aspects of life as it happens. Photographing portraits and landscapes is an artistic and creative pastime which helps to creatively tickle my brain and distract me from the mental weight of our increasingly complicated, conflicted and troubled world. In other words, photography could help to keep depression away. Compared to the conservative Asian country where I was originally from, Melbourne city has a liberal mind towards visual art, and Victoria state is blessed with nature’s beauty.
Single for a year now, I have more time and money to renew my enthusiasm in photography. I sold away all 3 of my ageing, second-hand, and long discontinued Canon DSLR cameras to replace them with newer camera models. Being sensibly frugal, I waited patiently for the better second-hand past camera models to appear on Facebook Marketplace and eBay instead of buying the current or brand new camera models.
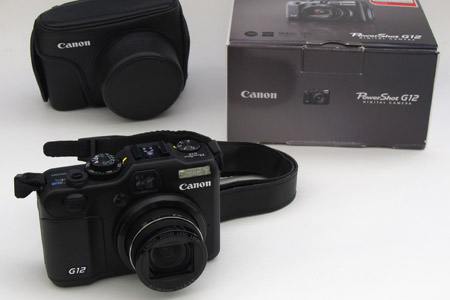
My like-new Canon PowerShot G12 acquired in 2018.
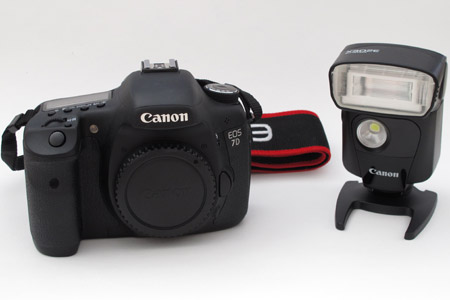
My like-new Canon EOS 7D and Speedlite 320EX acquired in 2018.

My brand-new run-out Canon EOS 6D bought in 2018.
In May this year, I gave myself a few birthday presents. I bought a like-new Canon PowerShot G12, a like-new Canon EOS 7D, a like-new Canon Speedlite 320EX, all for a fraction of their retail price. In June, I bought a brand-new run-out Canon EOS 6D priced low because its replacement model (EOS 6D Mark II) was already in the market. A little later that month, I bought a brand-new run-out Canon BG-E13 for the EOS 6D priced lower to clear. In July, I laughed my head off as I bought an excellent condition Canon EF-S 10-22mm zoom lens insanely cheap price about one-third of its second-hand value. In October, I bought a like-new Canon EF 25 II for less than half of its retail price. That was a bit of a buying spree but having sold away all 3 of my very old cameras first, the hurt to my bank account was minimized.
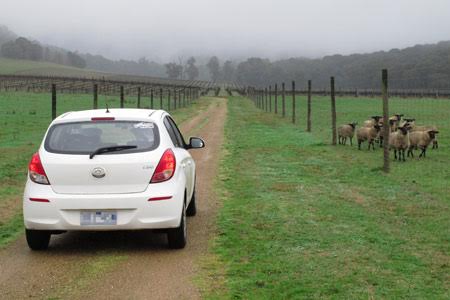
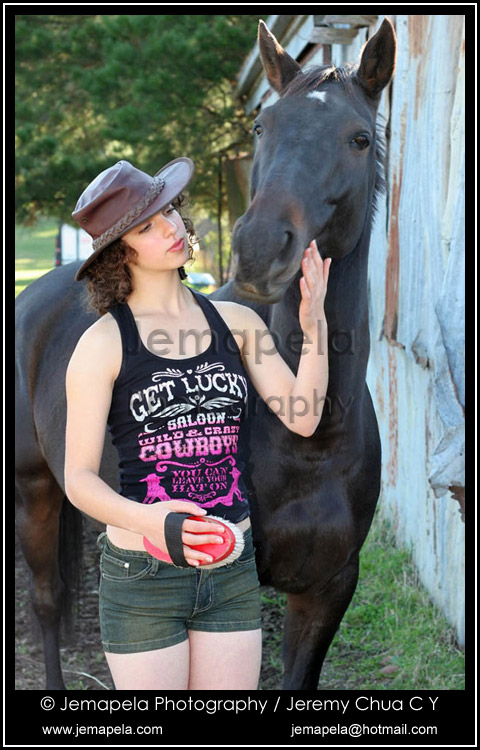
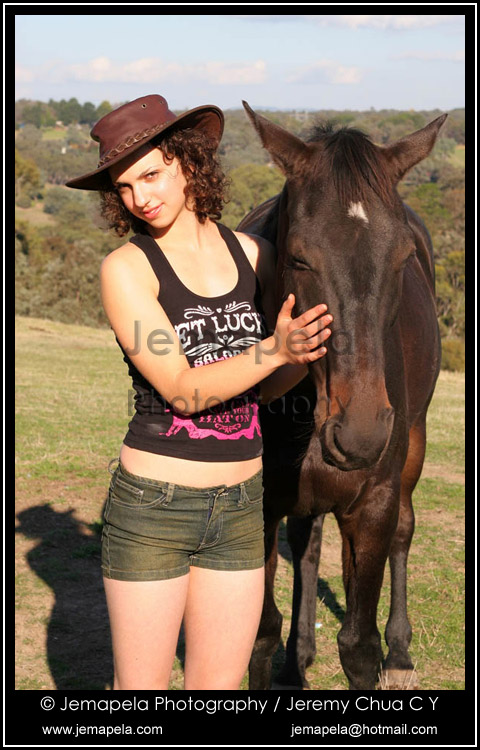
My “white horse” in countryside Victoria.
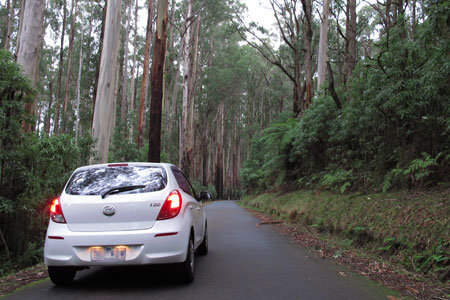
My “white horse” in the state forest in countryside Victoria.
My “white horse” on the alpine mountain in countryside Victoria.

Condoms are a family planning and financial planning invention rolled into one that preserves your time, money and freedom.
My regularly-serviced “white horse” gets me and my photographic equipment to faraway countryside places. My humble “white horse” is no luxury model but it has reliably taken me hundreds of kilometers away, over mud and snow, in lush forests and on misty mountains. Living my life as carefully and responsibly as possible, and not taking on more cares and responsibilities than I can managed and afford, I have no iron ball and chain to restrain me from my pursuits.
In December 2012, an avid cyclist friend and I went to the countryside northeast of Melbourne to cycle a section of the Murray to the Mountains rail trail. This trail is over 100 km of sealed off-road trails linking the towns of Milawa, Wangaratta, Beechworth, Rutherglen, and Bright. We concluded the day’s bicycle ride at Bright which is close to Mount Hotham, and did a drive to the top of Mount Hotham to catch sunset. Rising to 1861m, Mount Hotham is the highest altitude mountain in Victoria for skiing. Popular and busy in winter, Mount Hotham is very quiet in summer but it still offers spectacular scenery of the alpine countryside. After an overnight stay in the town of Bright, the next day we went up Mount Buffalo National Park nearby and walked to Ladies Bath Falls.


The above gallery presents the HDR images photographed during this visit to Mount Hotham (about 390km from Melbourne), Mount Buffalo National Park (about 341km from Melbourne) and the beautiful Ladies Bath Falls.
Thank you Sean for doing this very long road trip to the countryside.
Most people who do infrared (IR) photography might be unaware that it can also be used for covert night time photography, such as for wildlife or surveillance. Many CCTV security cameras are designed to be IR sensitive, and used together with IR illumination which is almost invisible to human eyes, can record photos and videos at night.
In late 2012 to early 2013, I modified a Canon PowerShot SX20IS to be IR sensitive, and also modified its built-in flash to emit IR. I also modified a small LED lamp by replacing its white light LEDs with specially selected IR light LEDs. Together with this small modified LED lamp, I used the camera to photograph Australian wildlife, the common possums, at a public park in Melbourne CBD.
The following gallery contains images of the possums photographed at night, and the Canon PowerShot SX20IS and LED lamp dismantled in its modification process.


A few months later in 2013, I photographed possums again at night with a modified Canon PowerShot G9 and modified a bigger LED lamp.
In July 2011, a few friends and I went on a road trip to Mount Hotham and the nearby alpine village of Dinner Plain. Rising to 1861m, Mount Hotham is the highest altitude mountain in Victoria for skiing. The ‘powder capital’ of Australia which regularly posts the highest snowfall in Victoria, Mount Hotham offers spectacular views of the Victorian alpine mountain range, and is a challenging 4 hour 30 minute non-stop drive from Melbourne. With stops along the way for quick meals, wheel chain hire, and at visitor information centres, the drive to Mount Hotham realistically took us slightly over 6 hours. This was a 3-day 2-night road trip, about 390km away from Melbourne.
In September 2011, a few friends and I went on a road trip for an overnight stay at the secluded and tranquil waterfront accommodation called Waterfront Retreat at Wattle Point in the Gippsland Lakes Region near Lakes Entrance, about 280km away from Melbourne.


The above gallery presents the HDR images photographed during this visit to Mount Hotham and Wattle Point.
In June 2011, I went on a few road trips out of Melbourne, and into countryside Victoria, and shot the following HDR (high dynamic range) images. Locations included Olinda (about 50km from Melbourne), Cape Schanck (about 98km from Melbourne), Narbethong (about 88km from Melbourne), Eildon (about 135km from Melbourne), Kinglake (about 58km from Melbourne), and Murrindindi (about 95km from Melbourne).


The above gallery of images contains HDR images photographed using Canon EOS 5D and EOS 20D digital cameras and processed using PhotoMatix Pro. You may notice a few images slightly blurred because the camera moved slightly between exposures when no tripod was used. Ideally when doing HDR photography, a steady tripod should be used to keep the camera absolutely still when shooting images.
Thank you Harnam and Vincent for doing these road trips to the countryside. More images and information are in my Facebook profile.
In early 2005, my father bought me my first digital SLR camera, a Canon EOS 20D for which I am grateful. This digital SLR camera was targeted at serious photographers, and it was very expensive by today’s standards for that $1900 price tag. Announced in August 2002, it only has 8.2 megapixels in resolution, but it produced very nice images. I began using it in February 2005 in Australia. As several years went by, I upgraded in Australia to the newer Canon EOS 40D (second-hand) and also a full-frame Canon EOS 5D (repaired by a colleague and bought off him).
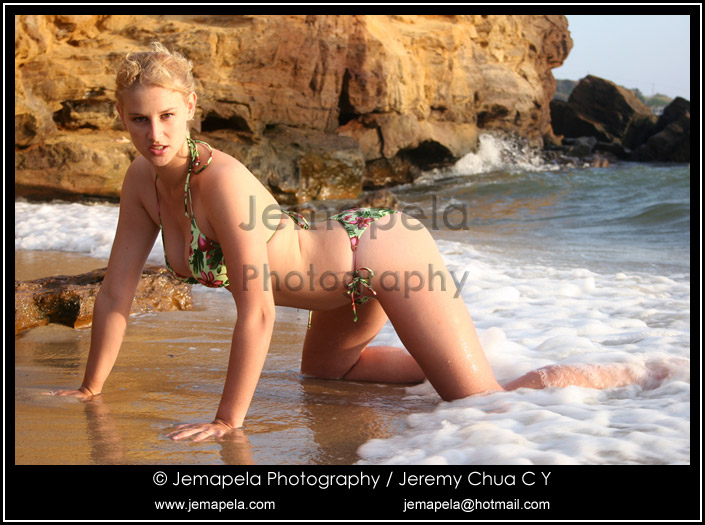
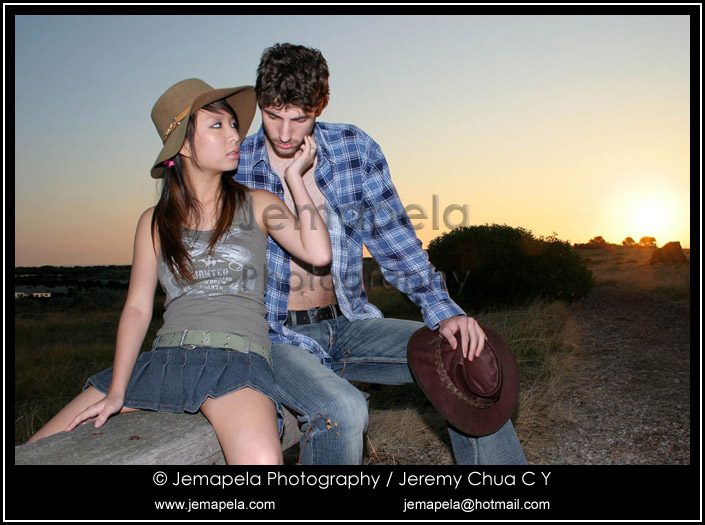
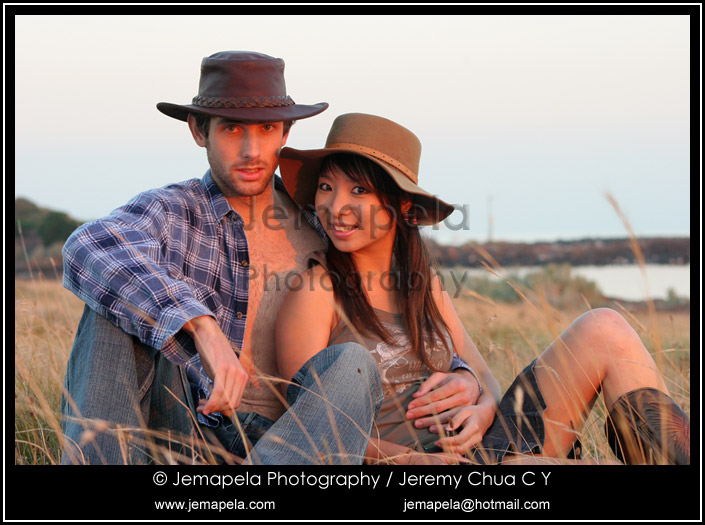
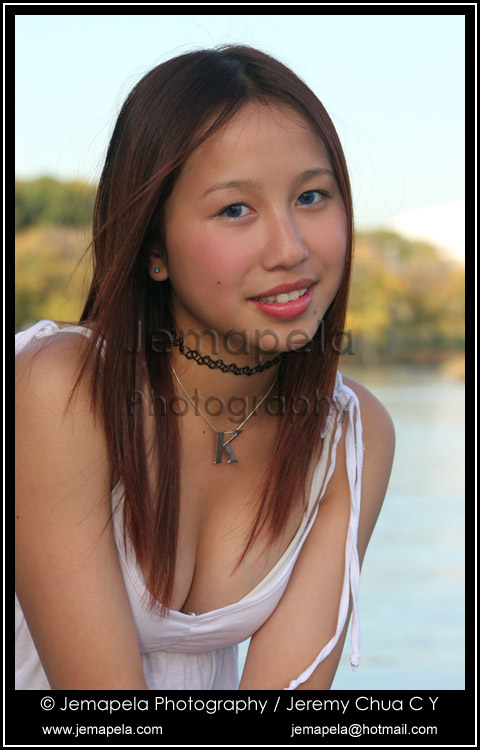
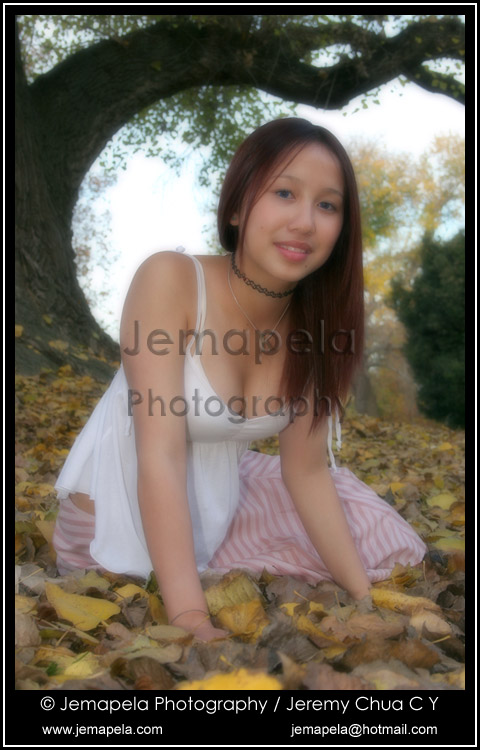
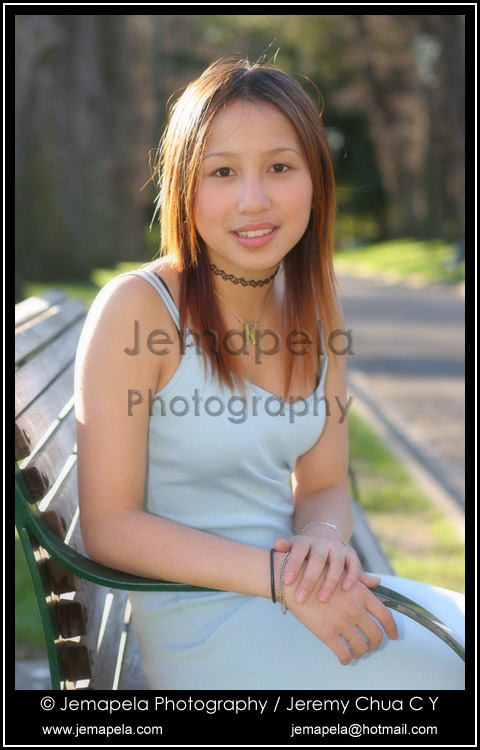
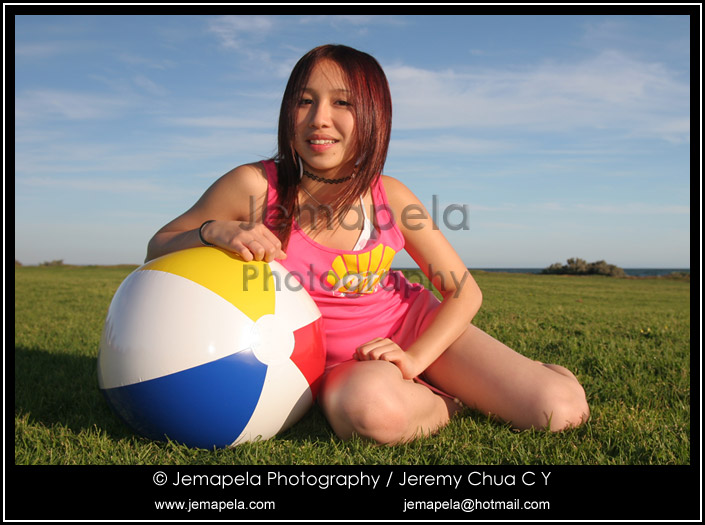
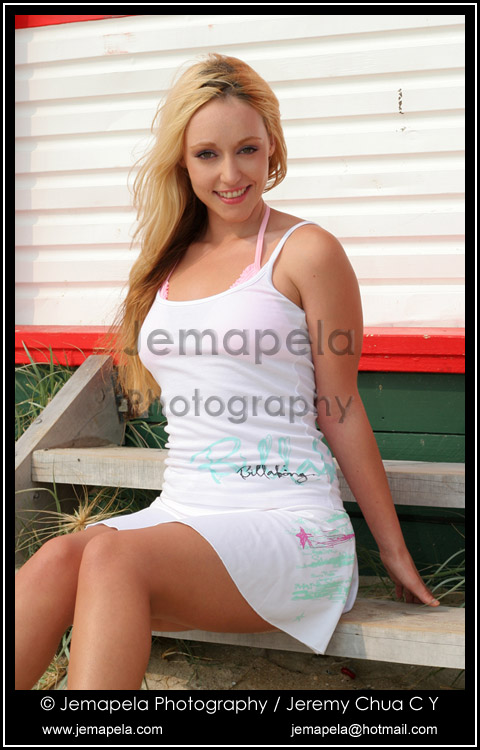
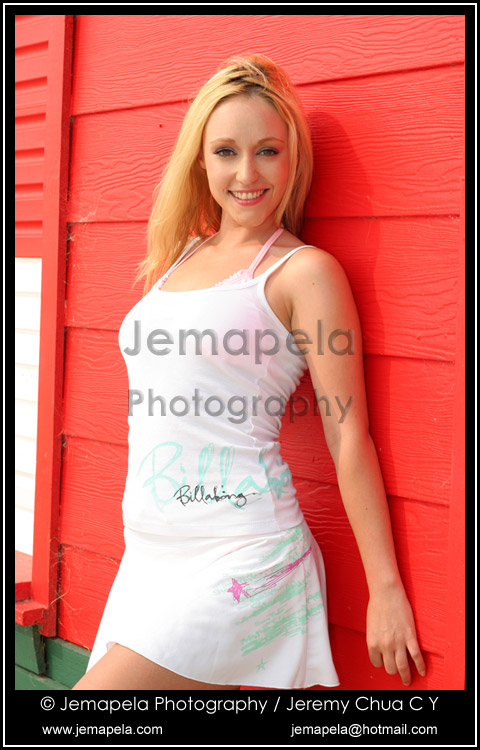
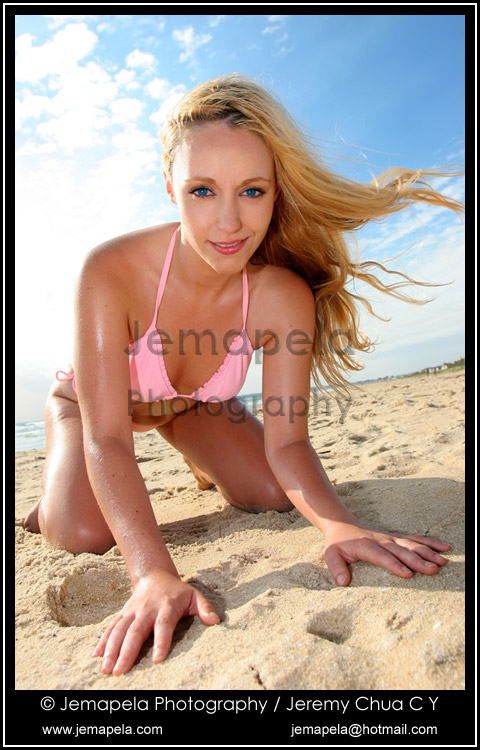
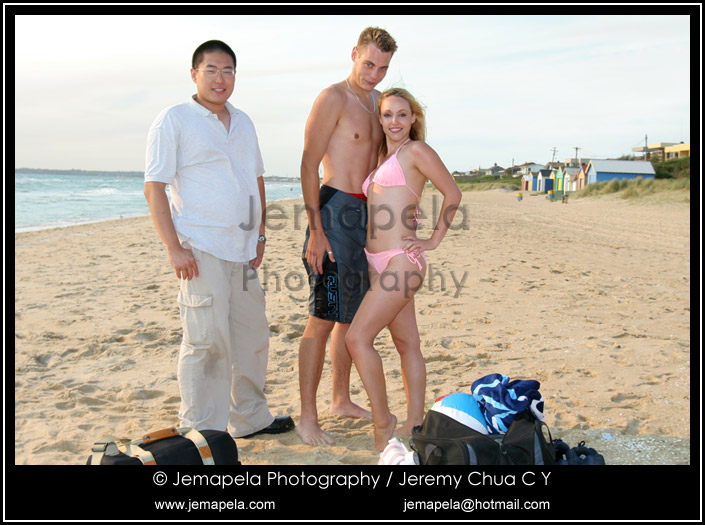
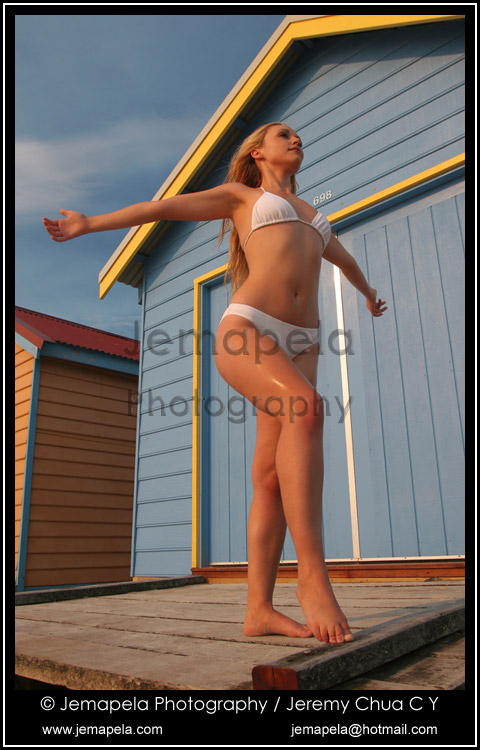
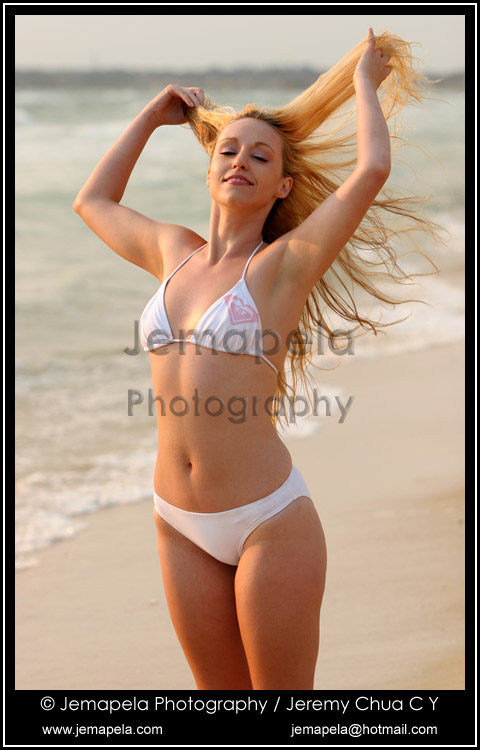
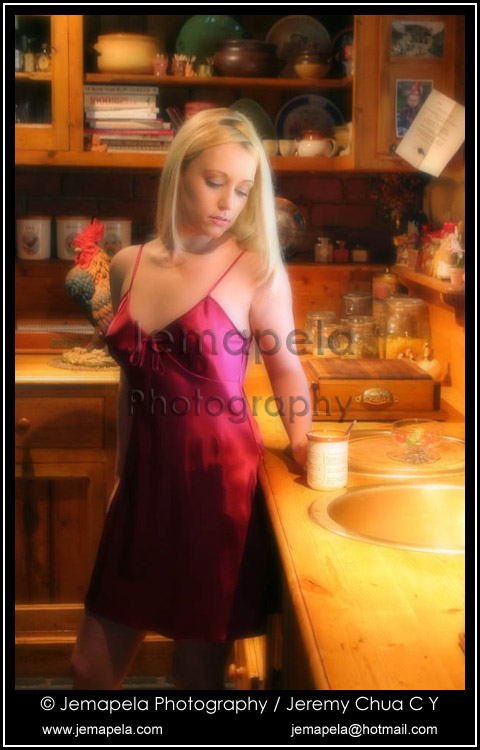
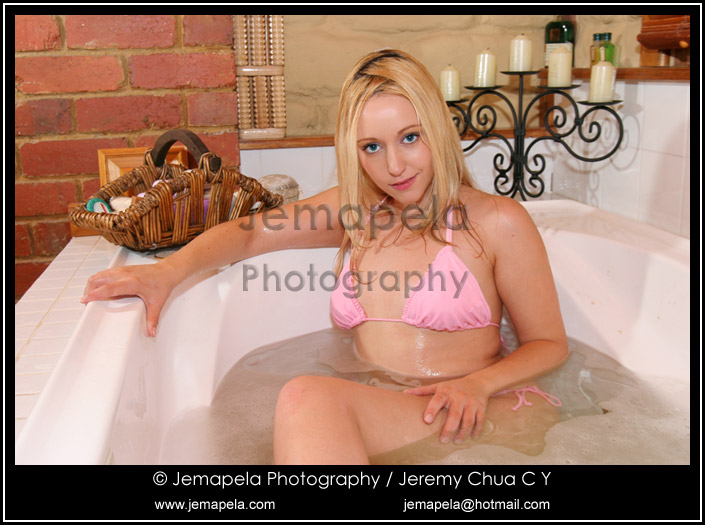
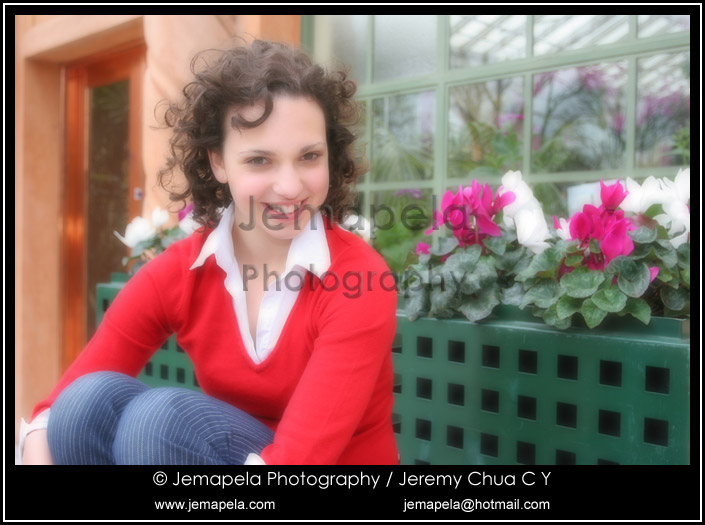
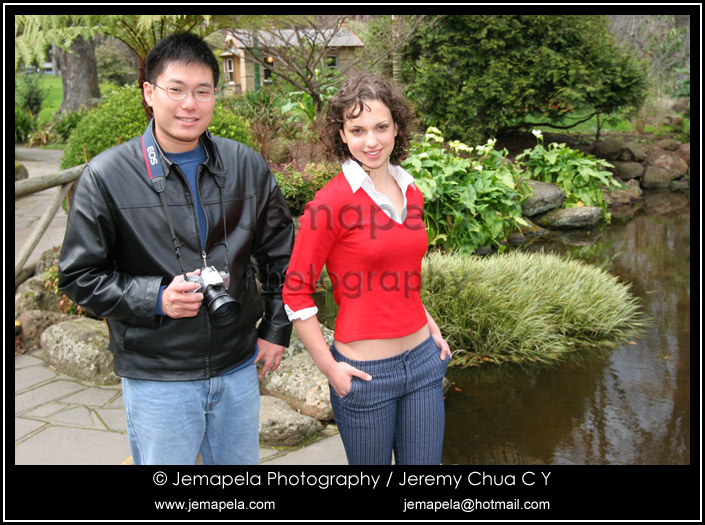
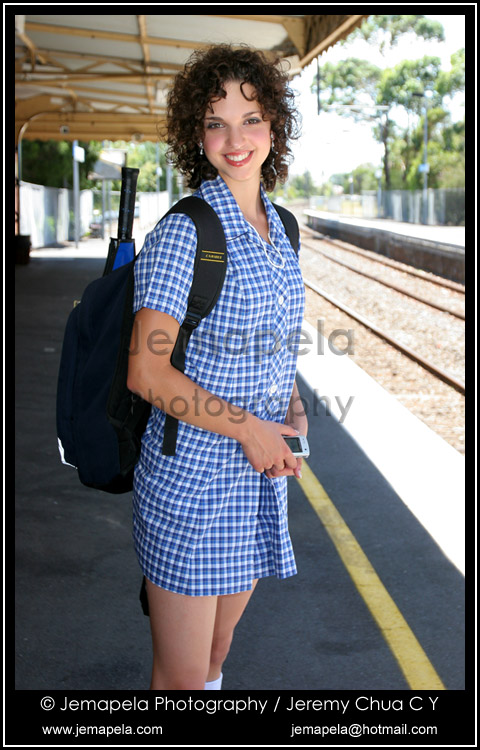
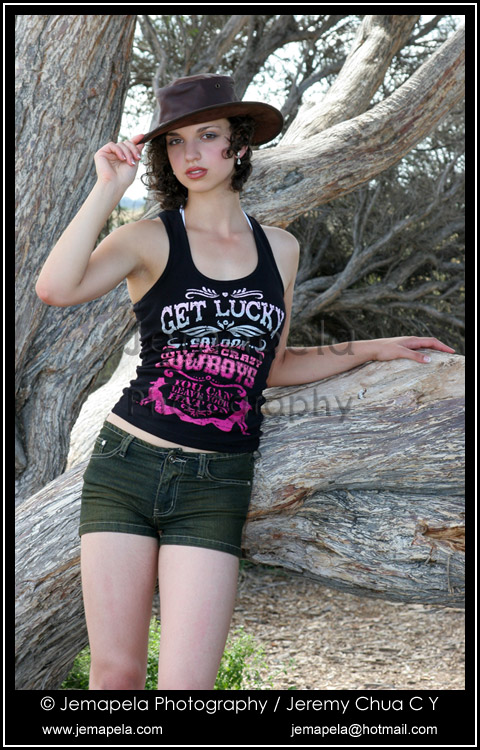
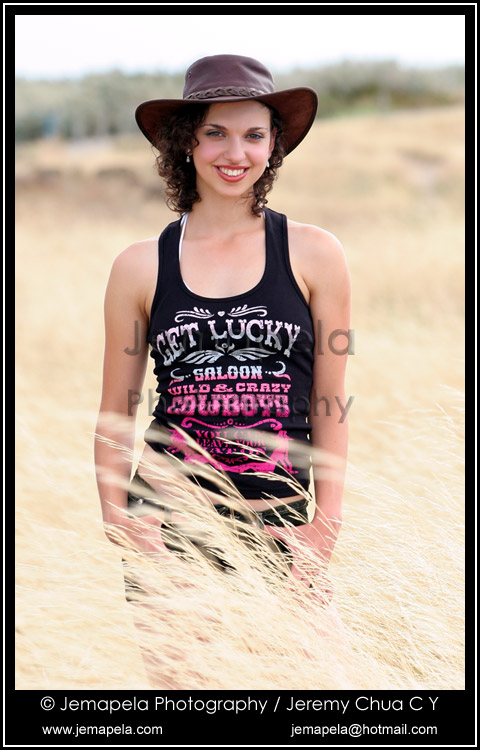
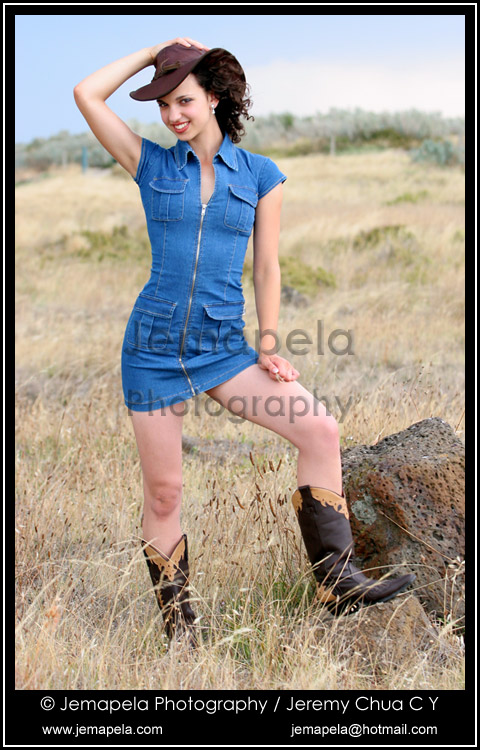
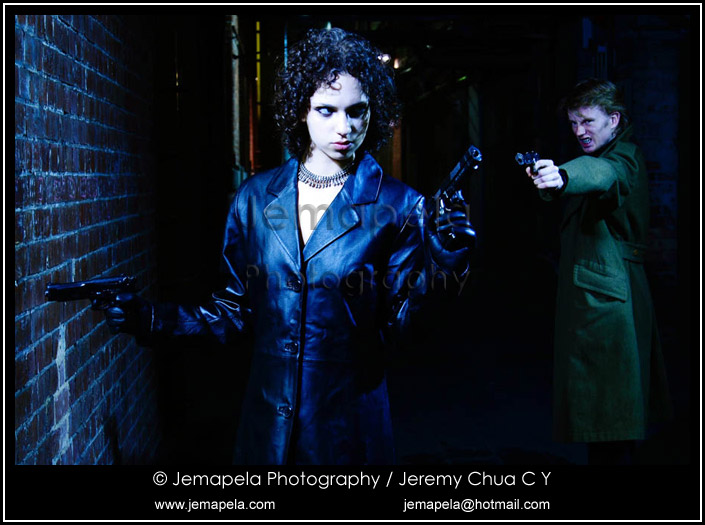
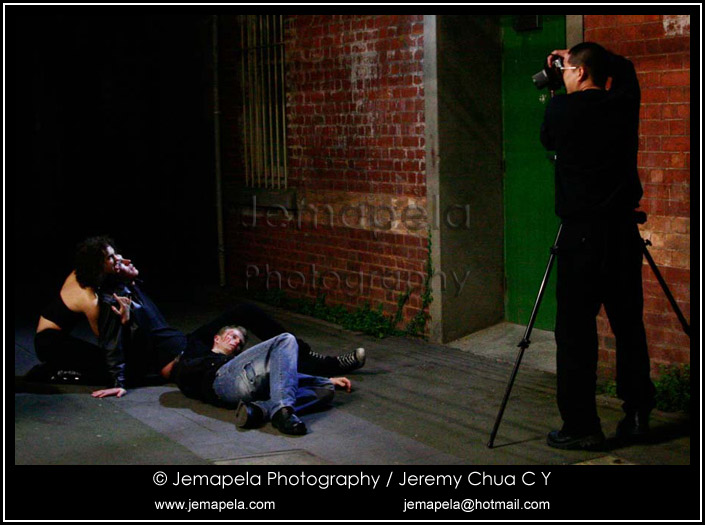
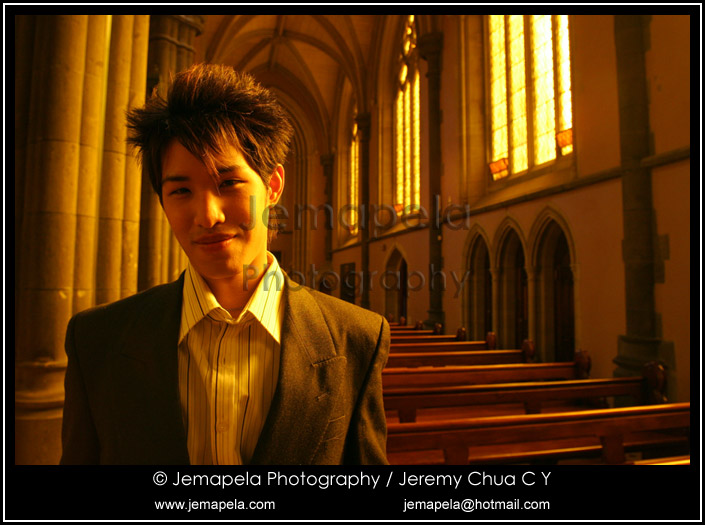
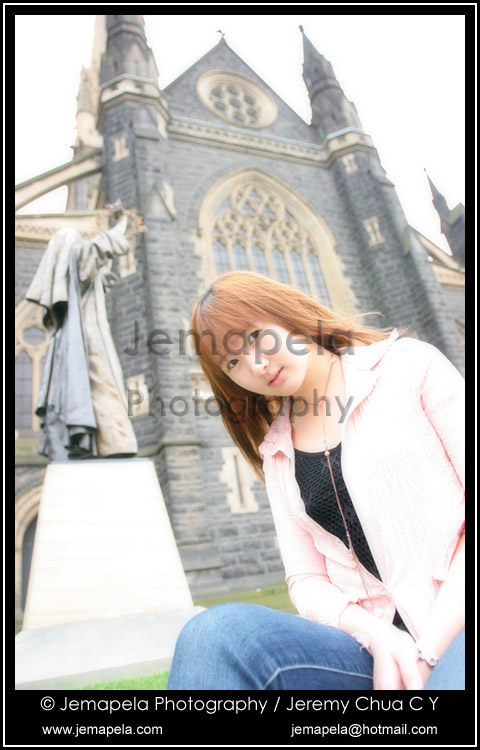
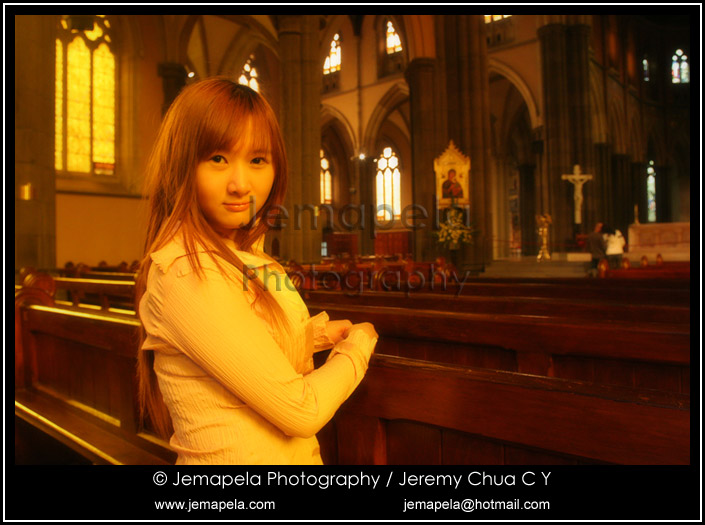
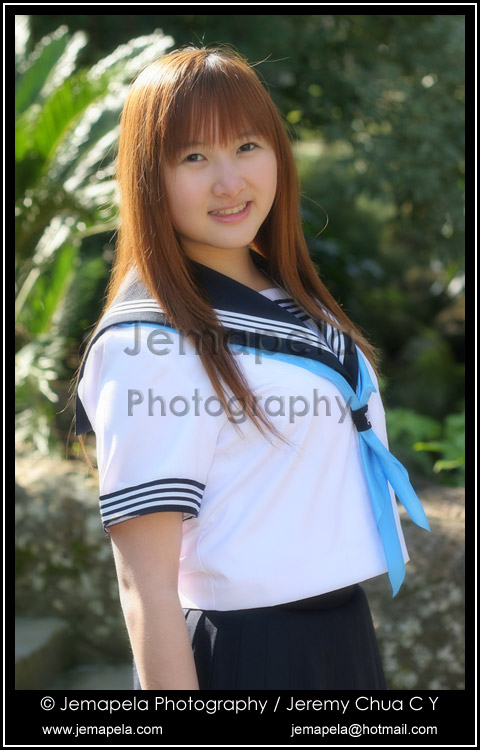
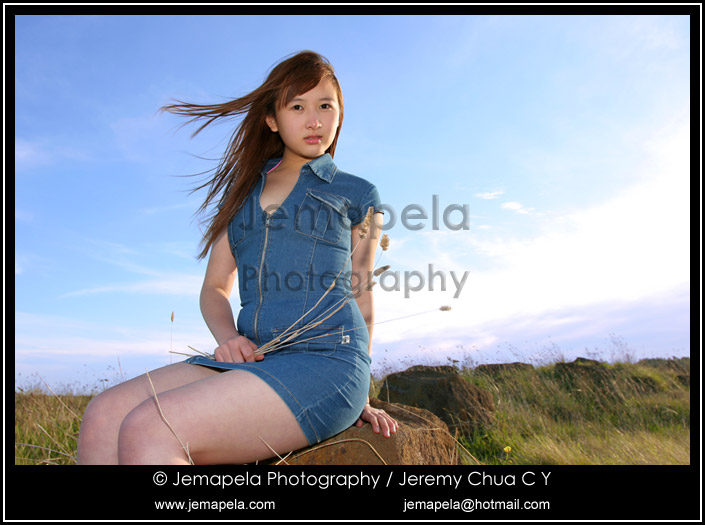
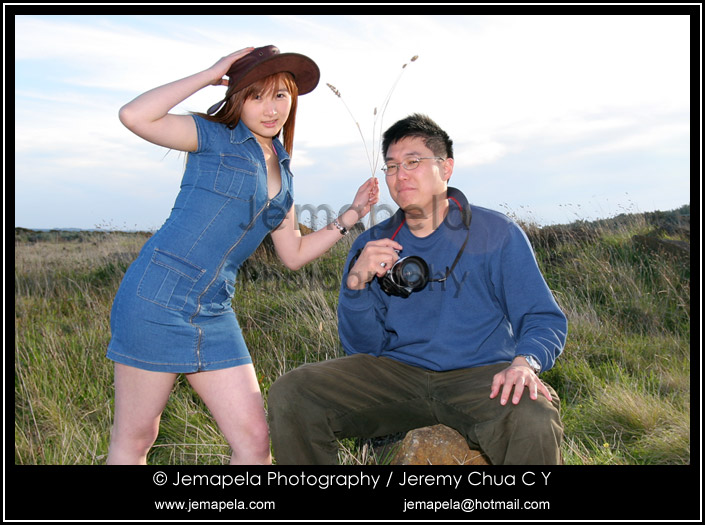
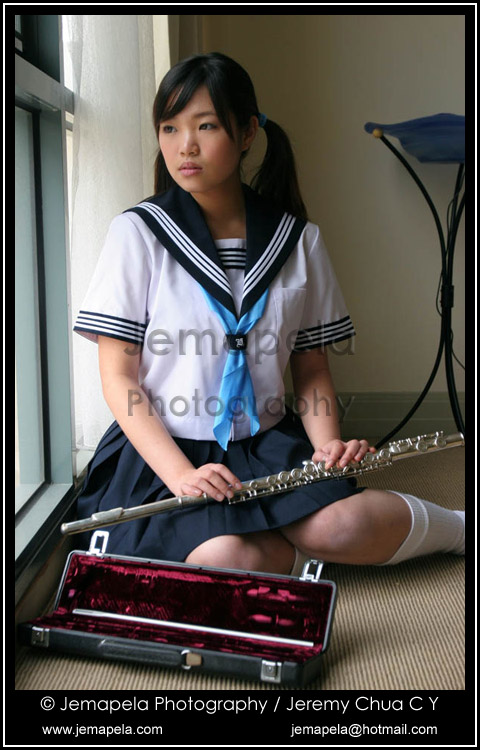
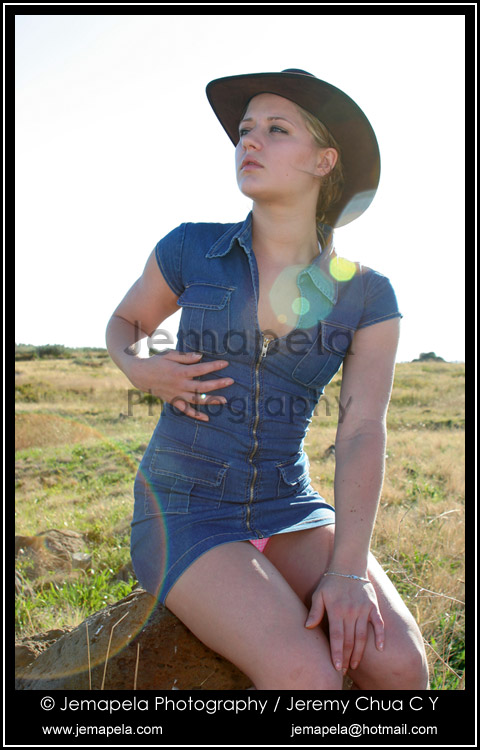
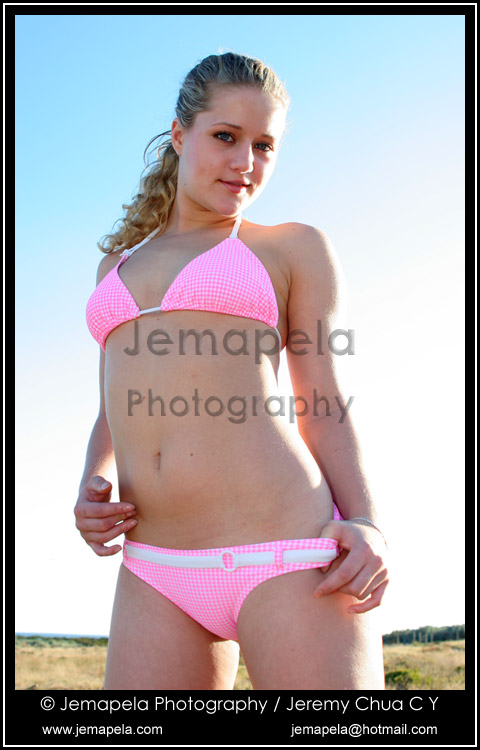
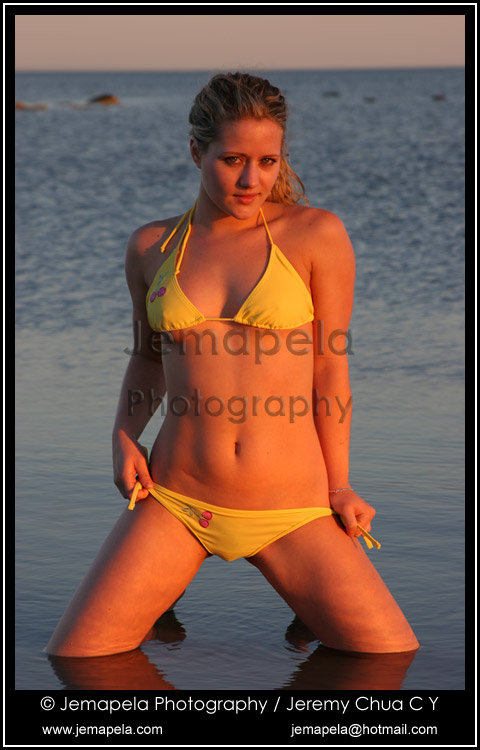
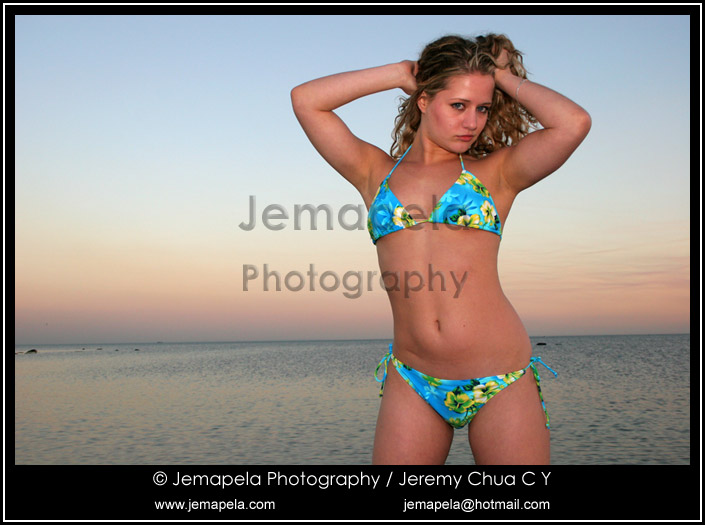
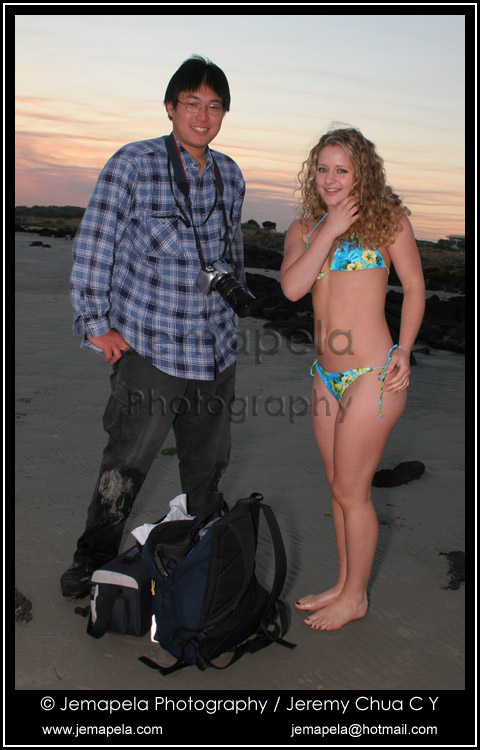
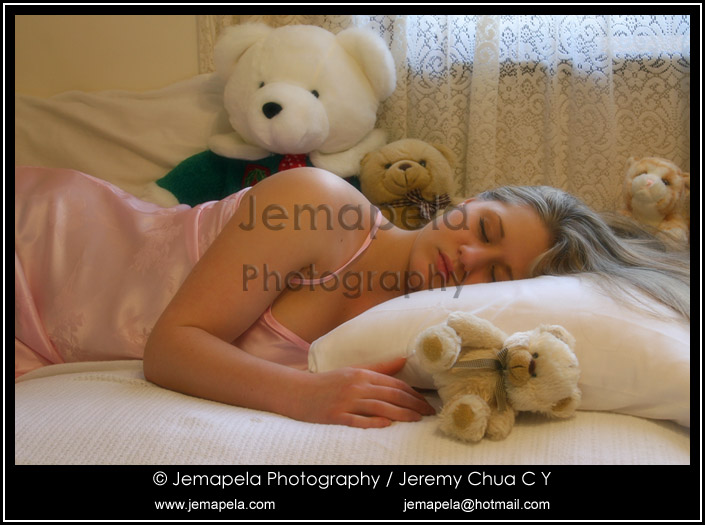
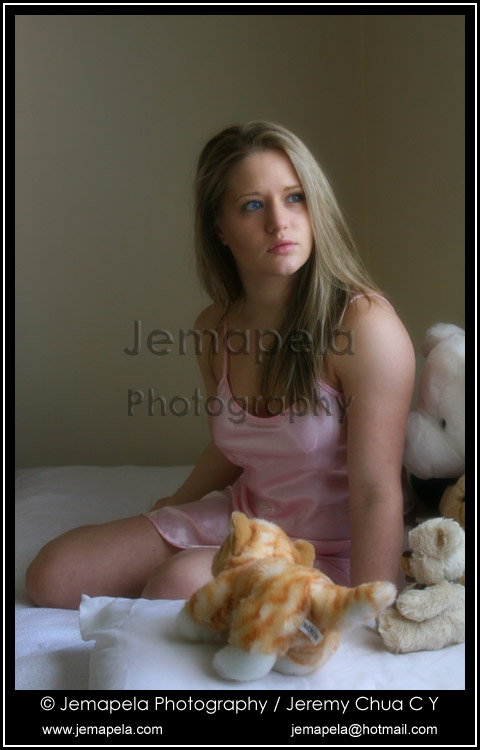
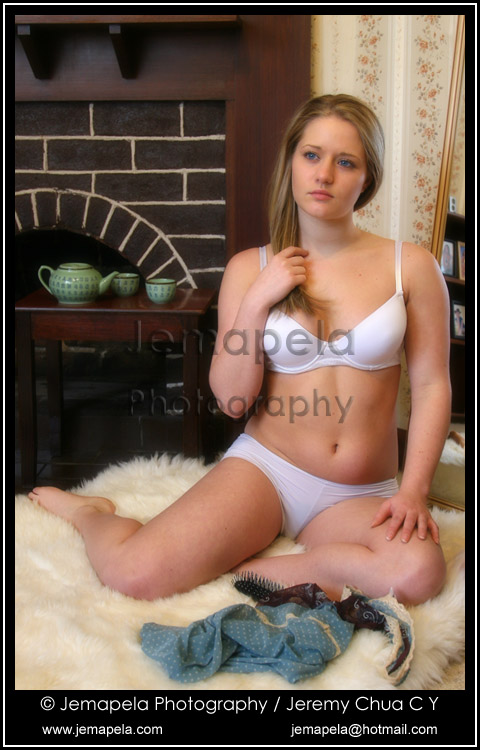
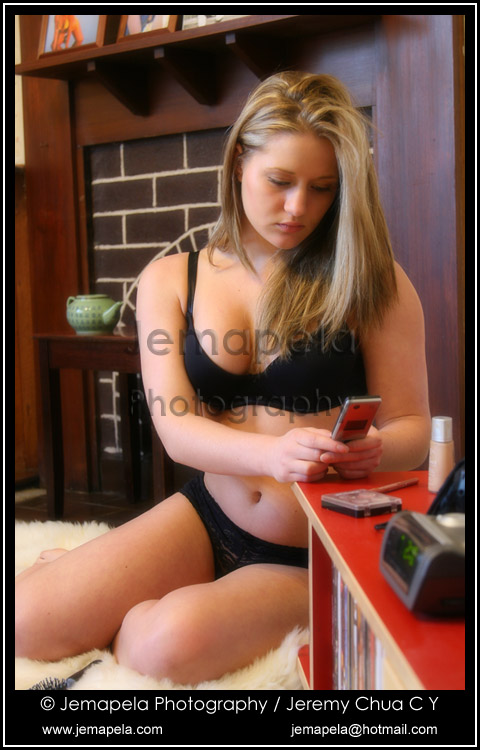
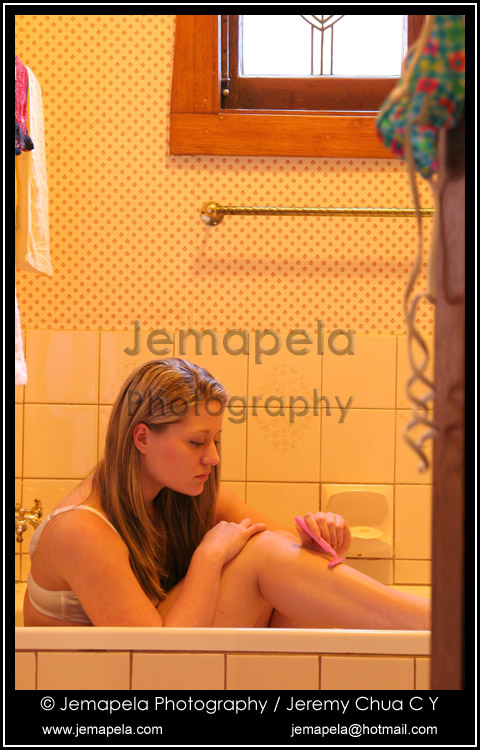
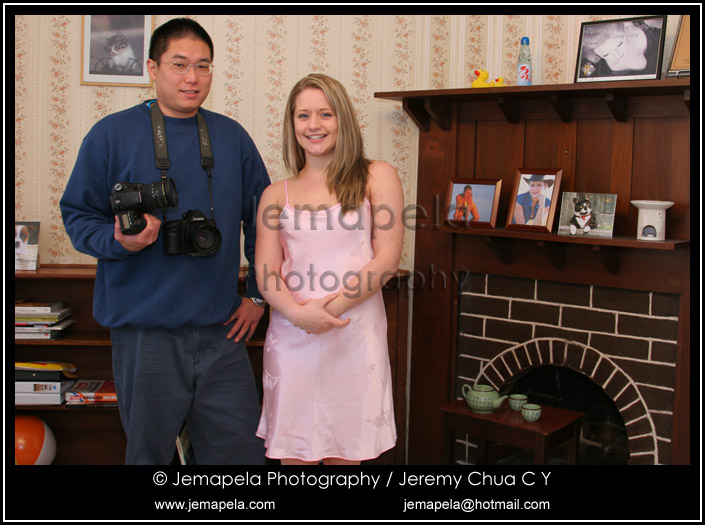
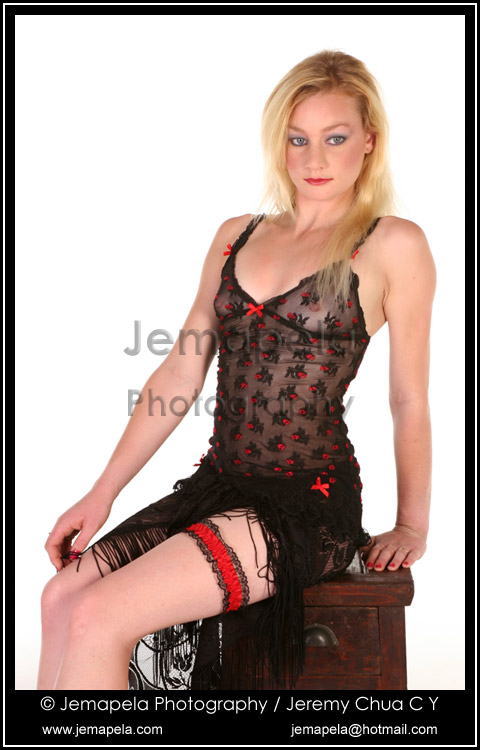
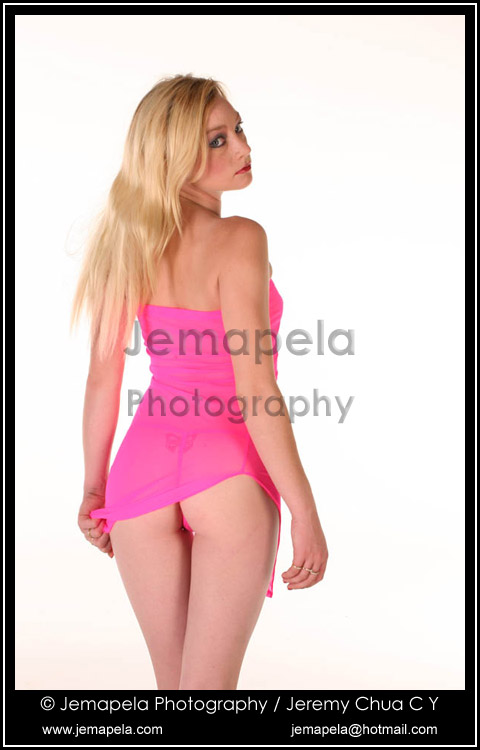
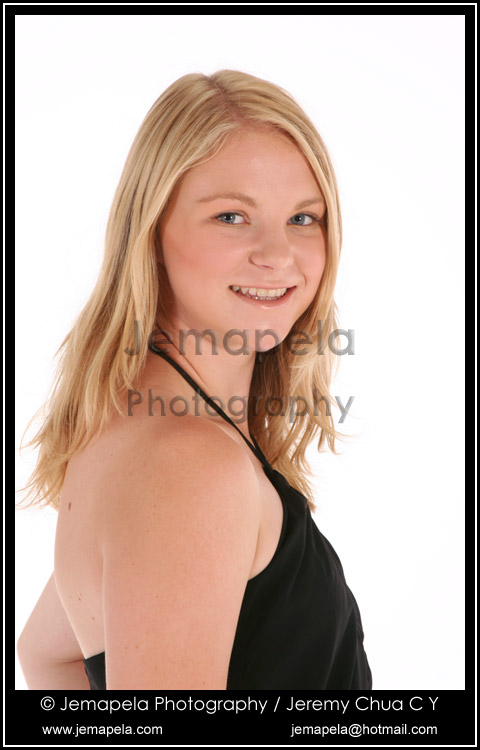
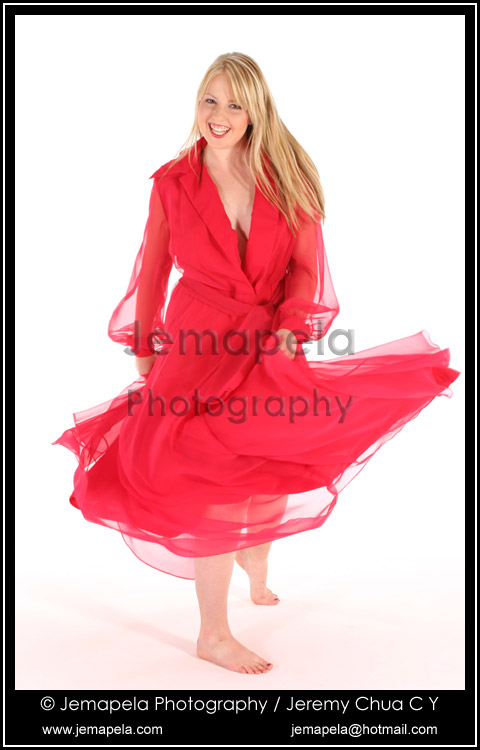
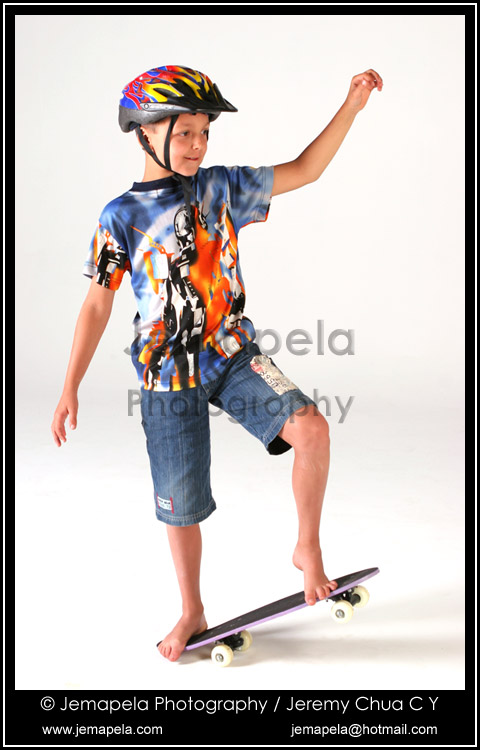
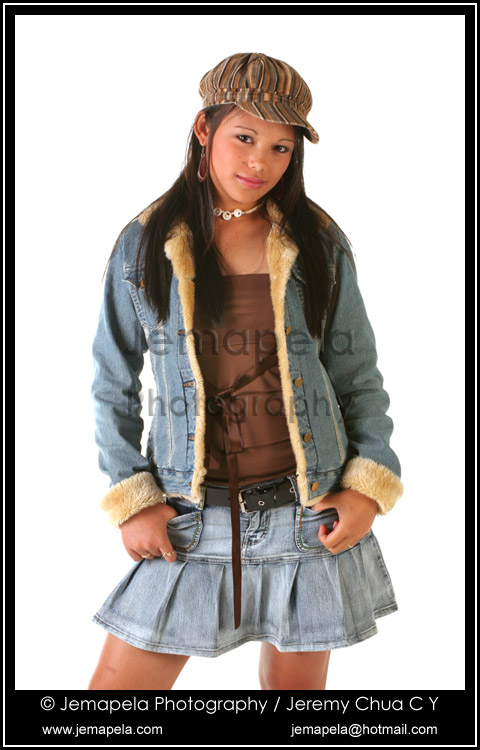
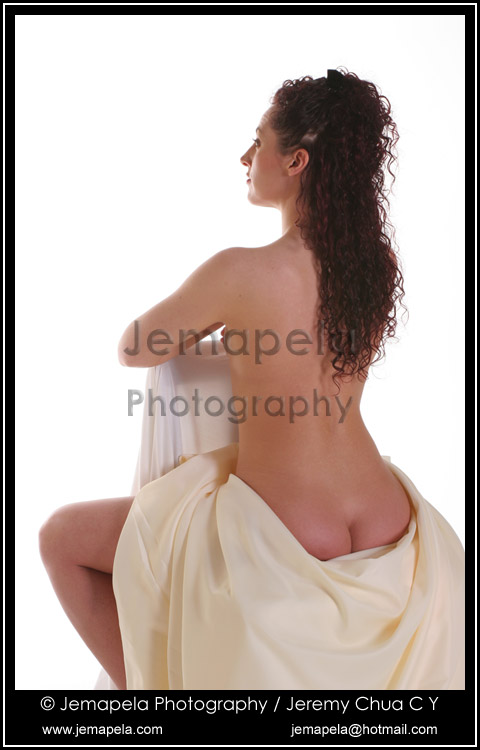
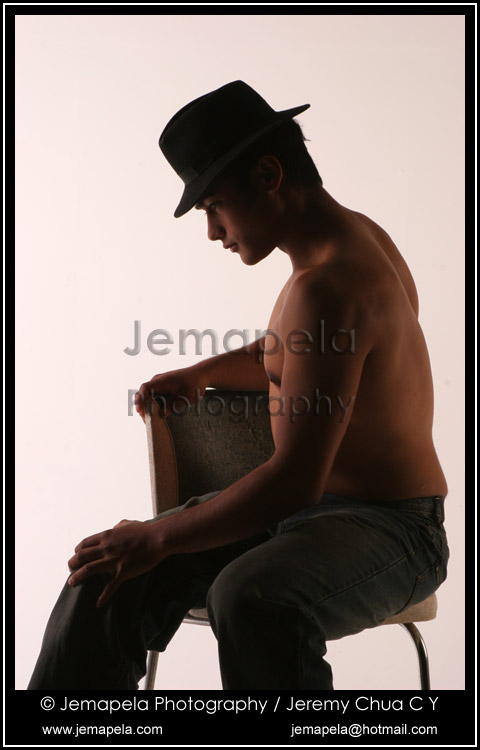
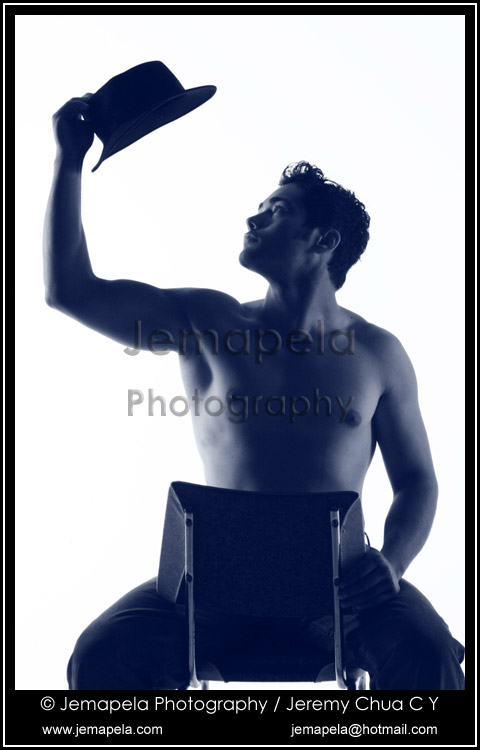
In this gallery are some of the many images I photographed in Australia over 10 years in 2005 to 2015. During some photo shoots, posed behind-the-scenes images are sometimes shot for documentary or evidential purposes.
Be advised that some images contain adult or alternative themes, or nudity. These images are not suitable for young persons and may be offensive to conservative or religious persons.


Compliments and criticisms through the comments feature, or through e-mail, are welcomed.
I have a photographer’s account and profile on Model Mayhem at https://www.modelmayhem.com/jemapela
My work at Camera Clinic as a camera technician not only has me repairing digital SLR cameras but sometimes also modifying them for special applications such as infrared (IR) photography.
Although my interest in photography is primarily in portraits, I also have some interest in infrared (IR) photography. With IR-converted digital cameras, it is possible to shoot IR portrait images without the hassle of very long exposure times and the inconvenient use of a tripod.
These are some simple IR portraits I shot in 2009 using an IR-converted Nikon CoolPix 5700 and an IR-converted Canon PowerShot SX100IS camera. I modified both these cameras and also several other cameras at my workplace Camera Clinic.
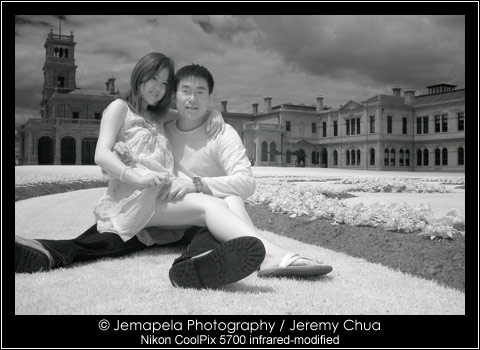
Infrared image of Averal and I.
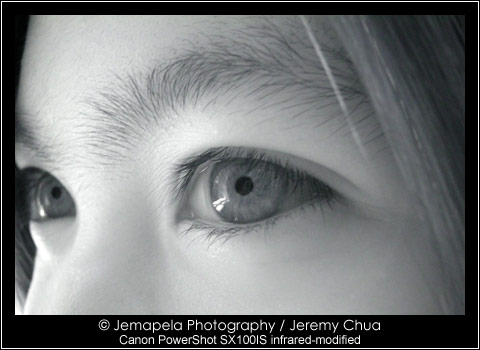
Infrared close-up image of dark brown Asian eyes.
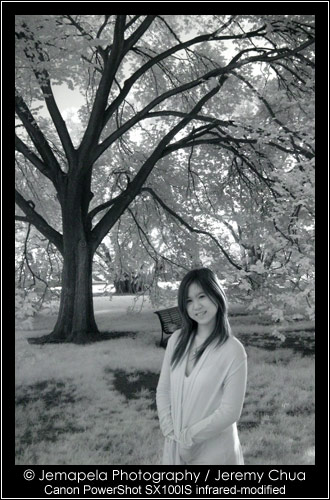
Infrared portrait image.
As interest in infrared (IR) photography grew, I did more IR conversions on digital cameras at Camera Clinic. In October 2010, I did about 10 IR conversions mostly on digital SLR cameras.
Using an IR-converted and focus corrected Canon EOS 5D Mark II with Canon EF 17-35mm f/2.8L USM and Canon EF 85mm f/1.8 USM lenses, I shot a few infrared portrait images in RAW+JPEG formats. I also used the IR-converted Canon EOS 5D Mark II to record IR videos. Shot with custom white balance, these images shown are the JPEG images out-of-camera and have not been digitally manipulated or enhanced.

Infrared portrait using an infrared converted Canon EOS 5D Mark II.

Infrared portrait using an infrared converted Canon EOS 5D Mark II.
Contrary to popular theory or belief, IR-converted digital cameras are not completely free from the hot spot problem that is very common with unconverted digital cameras. Through my experience converting digital cameras and testing them with several lenses, faint hot spots can still occur with a very few lenses.
HDR is the abbreviation for high dynamic range. In digital photography, HDR refers to digital images that have a high dynamic range, higher than a standard digital camera image would normally capture. A HDR image is produced with software techniques that expand the range of illuminance of a standard digital camera image to more accurately represent the wide range of intensity levels in real life scenes.
To produce a HDR image, a scene is most commonly photographed several times with different exposure values, usually ±1 EV or ±2 EV apart. If this camera technique sounds very familiar, yes it would be. This technique is called exposure bracketing. Many cameras can do this automatically with a feature called Automatic Exposure Bracketing, or another similar terminology.
Probably the trickiest part about producing a HDR image from several images is that the camera and subject must remain still between each shot, and focus and depth-of-field kept constant. If not, when the photographed images are blended together in HDR software, the resulting HDR image may appear wrongly overlapped or blurred. A tripod must be used.
An alternative, perhaps unorthodox, method is to photograph a single image saved in the camera’s native RAW format (such as Canon CR2, Nikon NEF, Fujifilm RAF, etc), and from this single RAW format image, produce several images of different exposure levels to be blended into a resulting HDR image.
Unlike the JPEG format commonly and frequently used to save a digital image, the native RAW format contains much more image data. JPEG format files can only contain 24 bits of image data allocated to 8 bits for red, 8 bits for green, and 8 bits for blue. In comparison, RAW format files can contain 30 (10 bits per colour channel), to 42 bits (14 bits per colour channel) of image data. RAW format files allow photographers to greatly alter exposure levels and colour casts with minimal loss or damage to the digital image, but not so for the JPEG format. It is for this reason that professional and serious photographers prefer, and even swear by, RAW format in their paying assignments.


The above gallery contains HDR images photographed in July 2010 in Moama in New South Wales state (about 235km from Melbourne), and in October 2010 in Noojee (about 115km from Melbourne), Noojee State Forest, Toorongo Falls, and Walhalla (about 180km from Melbourne).