In early 2005, my father bought me my first digital SLR camera, a Canon EOS 20D for which I am grateful. This digital SLR camera was targeted at serious photographers, and it was very expensive by today’s standards for that $1900 price tag. Announced in August 2002, it only has 8.2 megapixels in resolution, but it produced very nice images. Already using Canon imaging products, I could use my existing Canon lenses and accessories with this brand new DSLR camera, and I began using it in February 2005 in Australia. As several years went by, I upgraded in Australia to the newer Canon EOS 40D (second-hand) and also a full-frame Canon EOS 5D (repaired by a colleague and bought off him). There was also a Canon EOS 600D kept in Singapore which I used a few times when I visited Singapore.
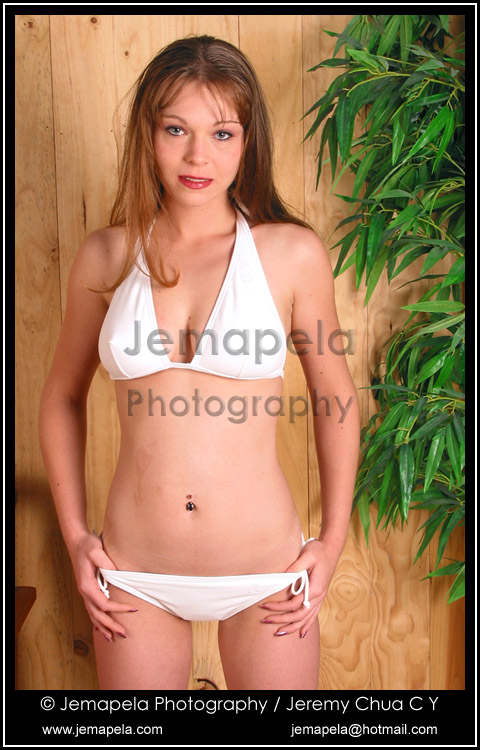
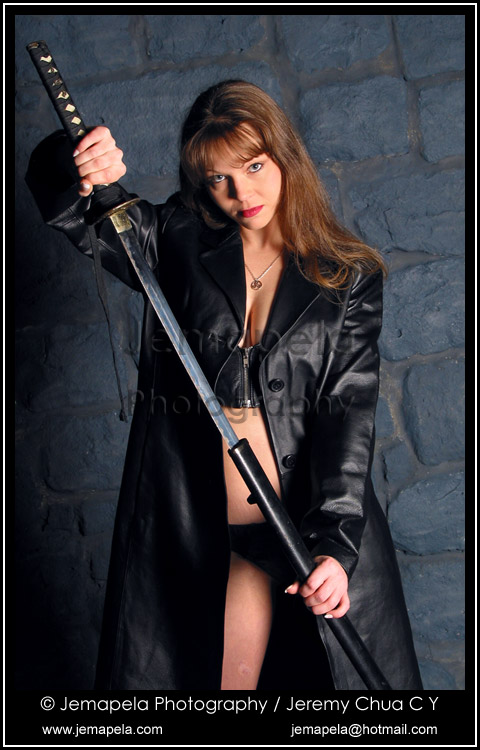
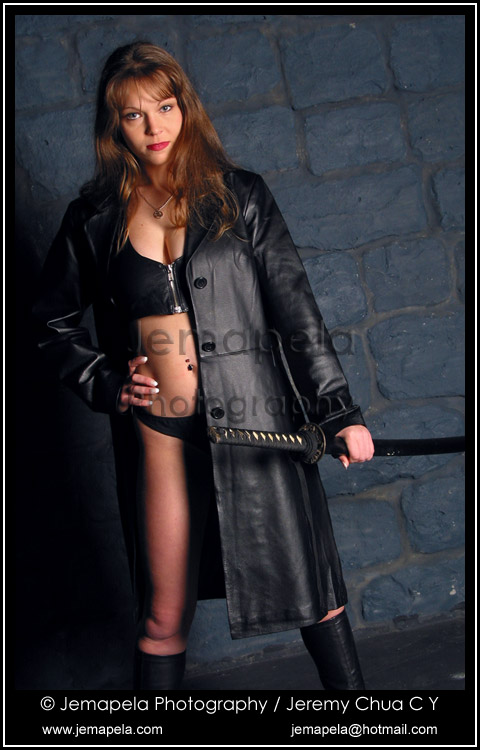
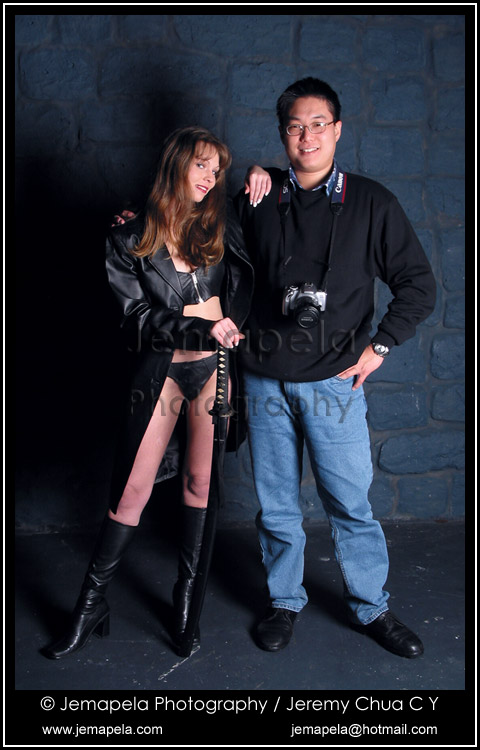
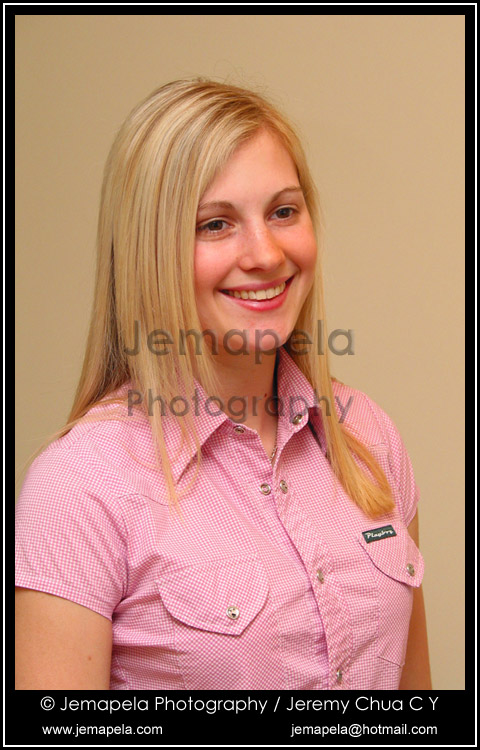
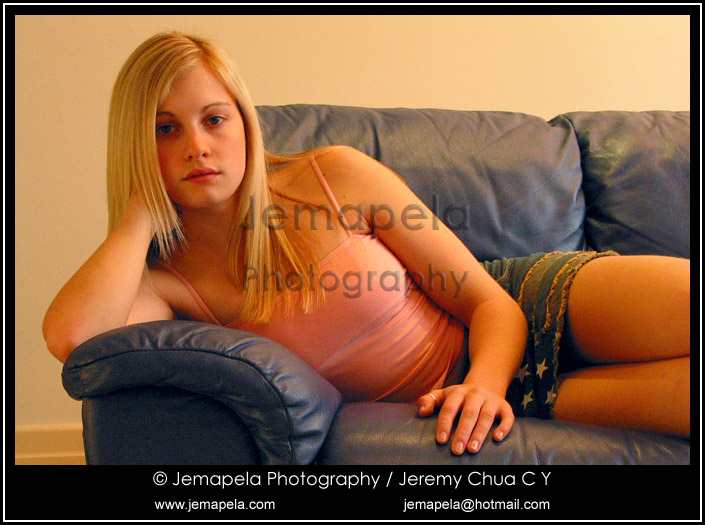
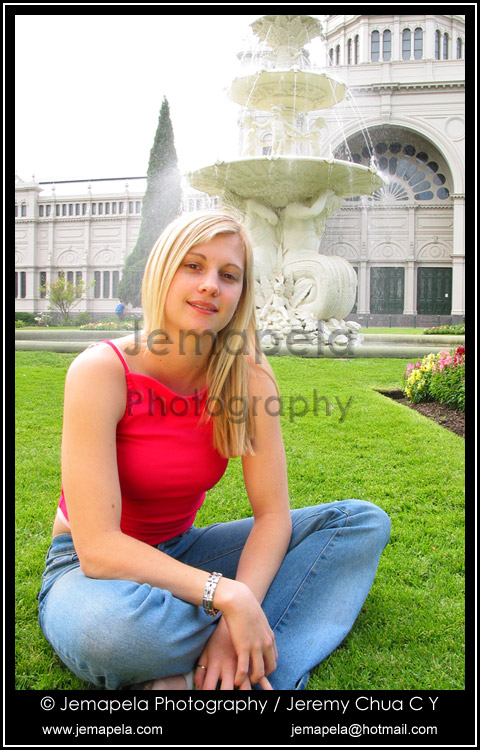
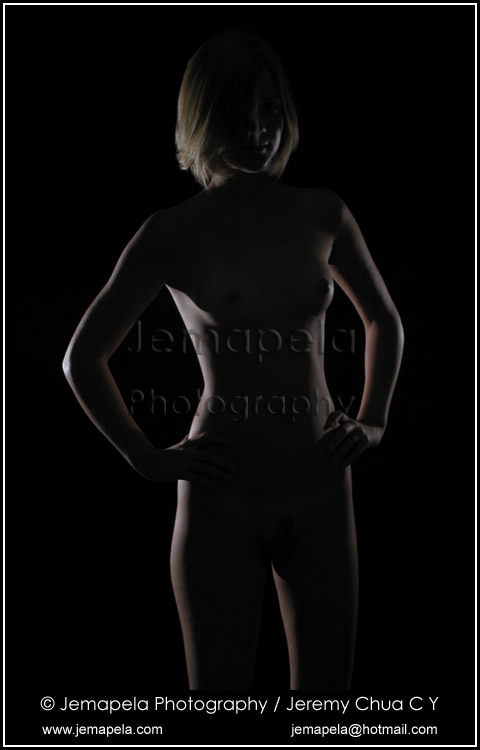
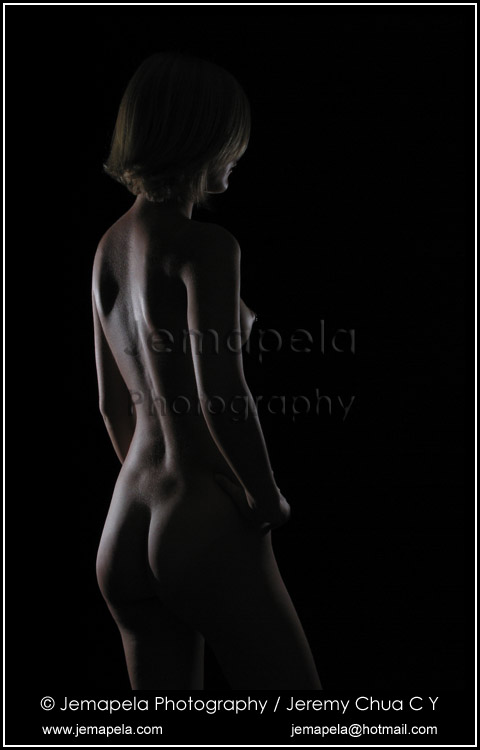
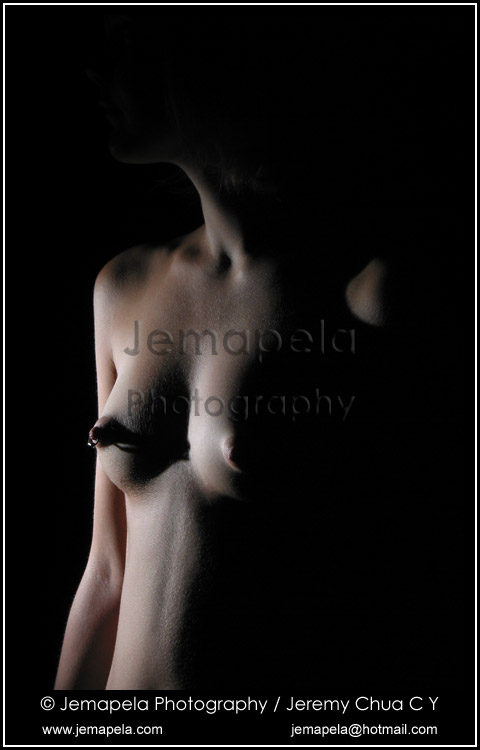
In this gallery are some of the many images I photographed in Singapore over 10 years in 2005 to 2015. During some photo shoots, posed behind-the-scenes images are sometimes shot for documentary or evidential purposes.
Be advised that some images contain adult or alternative themes, or nudity. These images are not suitable for young persons and may be offensive to conservative or religious persons.


Compliments and criticisms through the comments feature, or through e-mail, are welcomed.
I have a photographer’s account and profile on Model Mayhem at https://www.modelmayhem.com/jemapela
Unlike normal photography, infrared (IR) photography usually does not contain much colour. Ideally the photographer should do a custom white balance of the scene when using an IR-converted digital camera because automatic white balance often results in images that have a reddish or purplish colour cast. It is usually considered correct to do a custom white balance by measuring white balance on green grass/leaves on a sunny day. This white balance measurement renders the IR image looking similar to black and white images.
If custom white balance was measured on something else, say blue sky or red brick, the resulting IR image may contain some rather strange colours. This colour is called “false colours”, and some photographers like it. Predicting the occurrence of false colours is difficult because it varies between digital camera models. Based on research and experience, some digital cameras do not produce false colours. The appearance of false colours also depends on how the custom white balance was done.
In June 2010, I shot some IR images using an unconverted Canon PowerShot A650IS with a Hoya R72 filter held in front of the lens, and was surprised to observe that it does not produce the hot spot flare in its images. Its smaller brothers, the A630 and A640, also do not produce the hot spot flare when shooting IR images.
In July 2010, I shot more IR images using my specially-modified Canon PowerShot SX120IS with a 680nm infrared filter. Shot at Mount Buller and at Echuca, it was at Echuca that I discovered the custom white balance I did using a 950nm infrared filter tended to produce a sepia-tone appearance in images shot with a 680nm filter.


Some of the images shown were not post-processed, but some have been enhanced to improve visual appearance.
HDR is the abbreviation for high dynamic range. Sometimes known as HDRI (high dynamic range imaging), it refers to techniques that expand the range of illuminance of a standard digital camera image to represent the wide range of intensity levels in real life scenes.
Many digital cameras, even today, are incapable of capturing both the brightest and darkest areas in real life scenes accurately. Technically speaking, film has a wider dynamic range and is better at reproducing images of a scene more accurately as seen by the human eye. For this advantageous reason, some movies are still shot on film even today.
High dynamic range (HDR) images are most commonly produced by photographing a scene with a series of images at different exposure levels; some images overexposed, some images underexposed, and an image correctly exposed. Then, using specialty HDR imaging software, or imaging software capable of producing HDR images, the series of images are aligned and merged to produce a resultant HDR image not possible to capture in a single exposure. Thereafter, some adjustments to colour, contrast, saturation, sharpness or smoothing may be done to add visual impact to the image.
Sometime in 2008, I considered doing HDR photography but never began doing it until in early 2010 when I acquired a popular HDR software called PhotoMatix Pro.


The above gallery of images contains my very first HDR images photographed in June 2010 in Melbourne CBD and Ashcombe Maze in Mornington Peninsula (about 90km from Melbourne). They were photographed using a second-hand Fujifilm FinePix S9500. I found and bought this old digital camera because Fujifilm FinePix cameras produce beautiful colours with their proprietary Fujichrome mode which simulates the professional Fujichrome Velvia positive film. I liked the camera for its colours but it was slow to use.
Very few digital cameras are manufactured to be compatible for infrared (IR) photography, and the biggest blame for this incompatibility probably goes to lenses. Many lenses are not able to capture IR images without causing the annoying hot spot in the center of IR images. Usually appearing as a whitish or reddish circular patch, hot spots are always more prominent when using smaller apertures, and less visible or even absent when using bigger apertures.
Generally, the occurrence of hot spots can be greatly reduced, if not totally eliminated, by converting (modifying) the digital camera for IR photography.
In the following gallery of images, it is observed that the unconverted Fujifilm FinePix S6500fd produces hot spots.


In April 2010, I repaired a dead Canon PowerShot A640 camera to test its capability for infrared photography. Together with this revived unconverted Canon camera, I also tested an unconverted Canon PowerShot SX120IS and an unconverted Fujifilm FinePix S6500fd with the ever popular Hoya R72 filter.
In March 2010, I bought a Canon PowerShot SX120IS camera specifically for spectral modification. With compliments from my boss at Camera Clinic who provided me with a Wratten 89b equivalent polyester filter, I dismantled the camera, cleaned dust off the filter as best as possible, fitted the filter, and set down the imager sensor to a height for correct focus. The camera is now infrared converted and is now able to see infrared from about 730nm and higher.


I used this infrared converted camera during my Good Friday Easter Sunday super long weekend road trip to Port Campbell National Park, Warrnambool and Port Fairy.
Digital camera infrared (IR) photography can be done generally in 2 ways. The cheap but inconvenient way is to attach an IR-passing filter, such as the popular Hoya R72, over the lens and shoot images. The expensive but convenient way is to have the digital camera converted and calibrated for IR photography.
The cheap inconvenient method is slow and clumsy, and it is not always a sure-fire way of producing IR images. This method can sometimes produce a whitish circular flare in the center of the IR image, often called a hot-spot. This hot-spot becomes more visible with images shot at small apertures, and it can be observed that the hot-spot bears the shape of the diaphragm opening. There is no easy remedy for this optical problem.
The expensive convenient method is fast and easy. Not only are hot-spots absent, exposure times are short enough for hand-held photography. Not only can the tripod be left at home, the modified camera can be used at lower ISO values hence producing images with lesser electronic noise and higher clarity, or used at smaller apertures for longer depth-of-field to complement landscape photography which IR photography is popularly used for.
The conversion or modification of a digital camera for IR photography requires careful disassembly by a qualified technician, and sometimes the camera has to be optically (focus) calibrated after the modification. The imaging sensor (focal plane) position and lens focus (autofocus shift) can be calibrated to suit IR transmission in the camera-lens system. This calibration is necessary for the camera to correctly focus IR wavelengths and hence produce sharply focused images.
The following gallery presents infrared images I photographed in December 2009. Photographed in Sydney CBD, Royal National Park, Sea Cliff Bridge (Grand Pacific Drive), and Hunter Valley wine region, these IR images were appropriately enhanced in Adobe Photoshop for an improved visual appearance. I thank my Burmese friend Pyay Phyo Kyaw for hosting me in Sydney.


The Canon PowerShot SX100IS camera was infrared-converted by me in my workplace at Camera Clinic.
I first came to Australia in February 2002, arriving Melbourne to pursue a university degree in electronic engineering which I completed with Honours. Coming to Australia allowed me greater freedom and scope to execute bolder ideas with confident and creative people, some of whom model themselves. Coming from a conservative Asian country, Australia gave me great opportunities I could not pursue. I admitted feel that much of my portrait photography in the early years was probably not fantastic. I used a cheap Canon film SLR camera in tandem with a Canon PowerShot G2 compact digital camera in Australia until late 2004.
In this gallery are some of the many images I photographed in Australia in 2002 to 2004. During some photo shoots, posed behind-the-scenes images are sometimes shot for documentary or evidential purposes.
Be advised that some images contain adult or alternative themes, or nudity. These images are not suitable for young persons and may be offensive to conservative or religious persons.


Compliments, criticisms, or a discussion of techniques or ideas, through e-mail is welcomed.
In December 2008, I collaborated with a Singaporean photographer named David Sim who flew over to Melbourne with his clients Chloe and Zihao to do their wedding photography. Being a permanent resident of Melbourne, I was both his local guide and assisting photographer. The couple was photographed around Melbourne and at a winery in Mornington Peninsula.
Since David uses Nikon equipment, for convenience and compatibility with his equipment, I photographed this couple with a Nikon D300 borrowed from the company I was working for, Camera Clinic.


Over many years, with the ever increasing number of people buying digital cameras and doing wedding photography as a side hustle, the slice of the pie has gotten very small. I have not photographed any weddings since I first came to Australia, and gradually lost interest in this area of photography. This was the last wedding photography I did.
The human eye can see light and its reflected colours of a limited range. Generally, we call this the visible light spectrum, and this light has wavelengths from 380nm to 750nm. Beyond this range, that is, wavelengths below 380nm (ultraviolet) and above 750nm (infrared), the light is invisible to humans. Some insects and animals can see beyond the visible light spectrum.
Infrared (IR) photography is the formation of images with light at wavelengths above 750nm. In reality, most IR photography is actually the capture of near-infrared (NIR) light of wavelengths up to 1300nm, or in simpler words, the lower end of the infrared range. However, most people simply use the term “IR” or “infrared”.
Near-infrared photography can be done using most digital cameras. The CCD/CMOS imagers in most digital cameras can “see” near-infrared (NIR) light, but it is blocked away by an IR-block filter. This IR-block filter is often a clear or bluish-tint glass fitted on top of the imager.
For simplicity in explanation, generally NIR images can be photographed with a digital camera using an IR-pass filter attached in front of the lens. It is much better if the IR-block filter inside the camera is removed and an IR-pass filter is fitted on top of the imager, but this requires dismantling the camera.
Dismantling to repair or modify a digital camera should only be done by a qualified, trained and experienced technician. Electric shock, personal injury and damage can occur if a camera is dismantled by an unqualified person.
Although my interest in photography is primarily in portraits, I also have some interest in infrared photography. At my workplace in Camera Clinic, I have converted a few digital cameras to do infrared photography.
Some of the digital cameras I have converted for infrared include:
Nikon D1, D70, D200
Nikon CoolPix 5700
Canon EOS 10D, EOS 20D
Canon PowerShot G10, PowerShot SX100IS
The following gallery presents infrared images I photographed in 2007 and 2009. These images have been appropriately enhanced in Adobe Photoshop for an improved visual appearance.


The Nikon D50, Nikon CoolPix 5700 and Fuji FinePix S20 Pro used to shoot the above images were modified at my workplace Camera Clinic.
Although I began photography in 1990, my interest in portraits began much later in 1999 and has not stopped since then. Back then in the 1990s, digital camera technology was in its infancy and digital cameras were very unaffordable to many people. Many of my portraits were shot on film until my first digital camera came.
The very first digital camera my father bought was a compact Canon PowerShot G2. This compact digital camera was targeted at serious photographers, and it was very expensive by today’s standards for that $1000 price tag. Released in early 2002, it only has 4 megapixels in resolution, but it produced very nice images. However, it was not the best camera to shoot portraits because of its limited-range built-in zoom lens. I used the Canon PowerShot G2 in tandem with a professional-class Canon EOS 3 film SLR camera in Singapore until late 2004.
In this gallery are some of the many images I photographed in Singapore in 2002 to 2004. During some photo shoots, posed behind-the-scenes images are sometimes shot for documentary or evidential purposes.


This gallery contains portraits photographed using Canon PowerShot G2 and a borrowed Nikon D100 from a man I frequently worked for as a freelance photographer. The Nikon D100 was probably my first experience with a digital SLR camera, and being a brand that I did not frequently use, I did not use it correctly or expertly. All portrait images I produced before 2002 were photographed on 35mm print film, and were not digitized for display in this gallery.
Compliments, criticisms, or a discussion of techniques or ideas, through e-mail is welcomed.